Stuffed Mussels Tapas
Friday, June 26, 2020
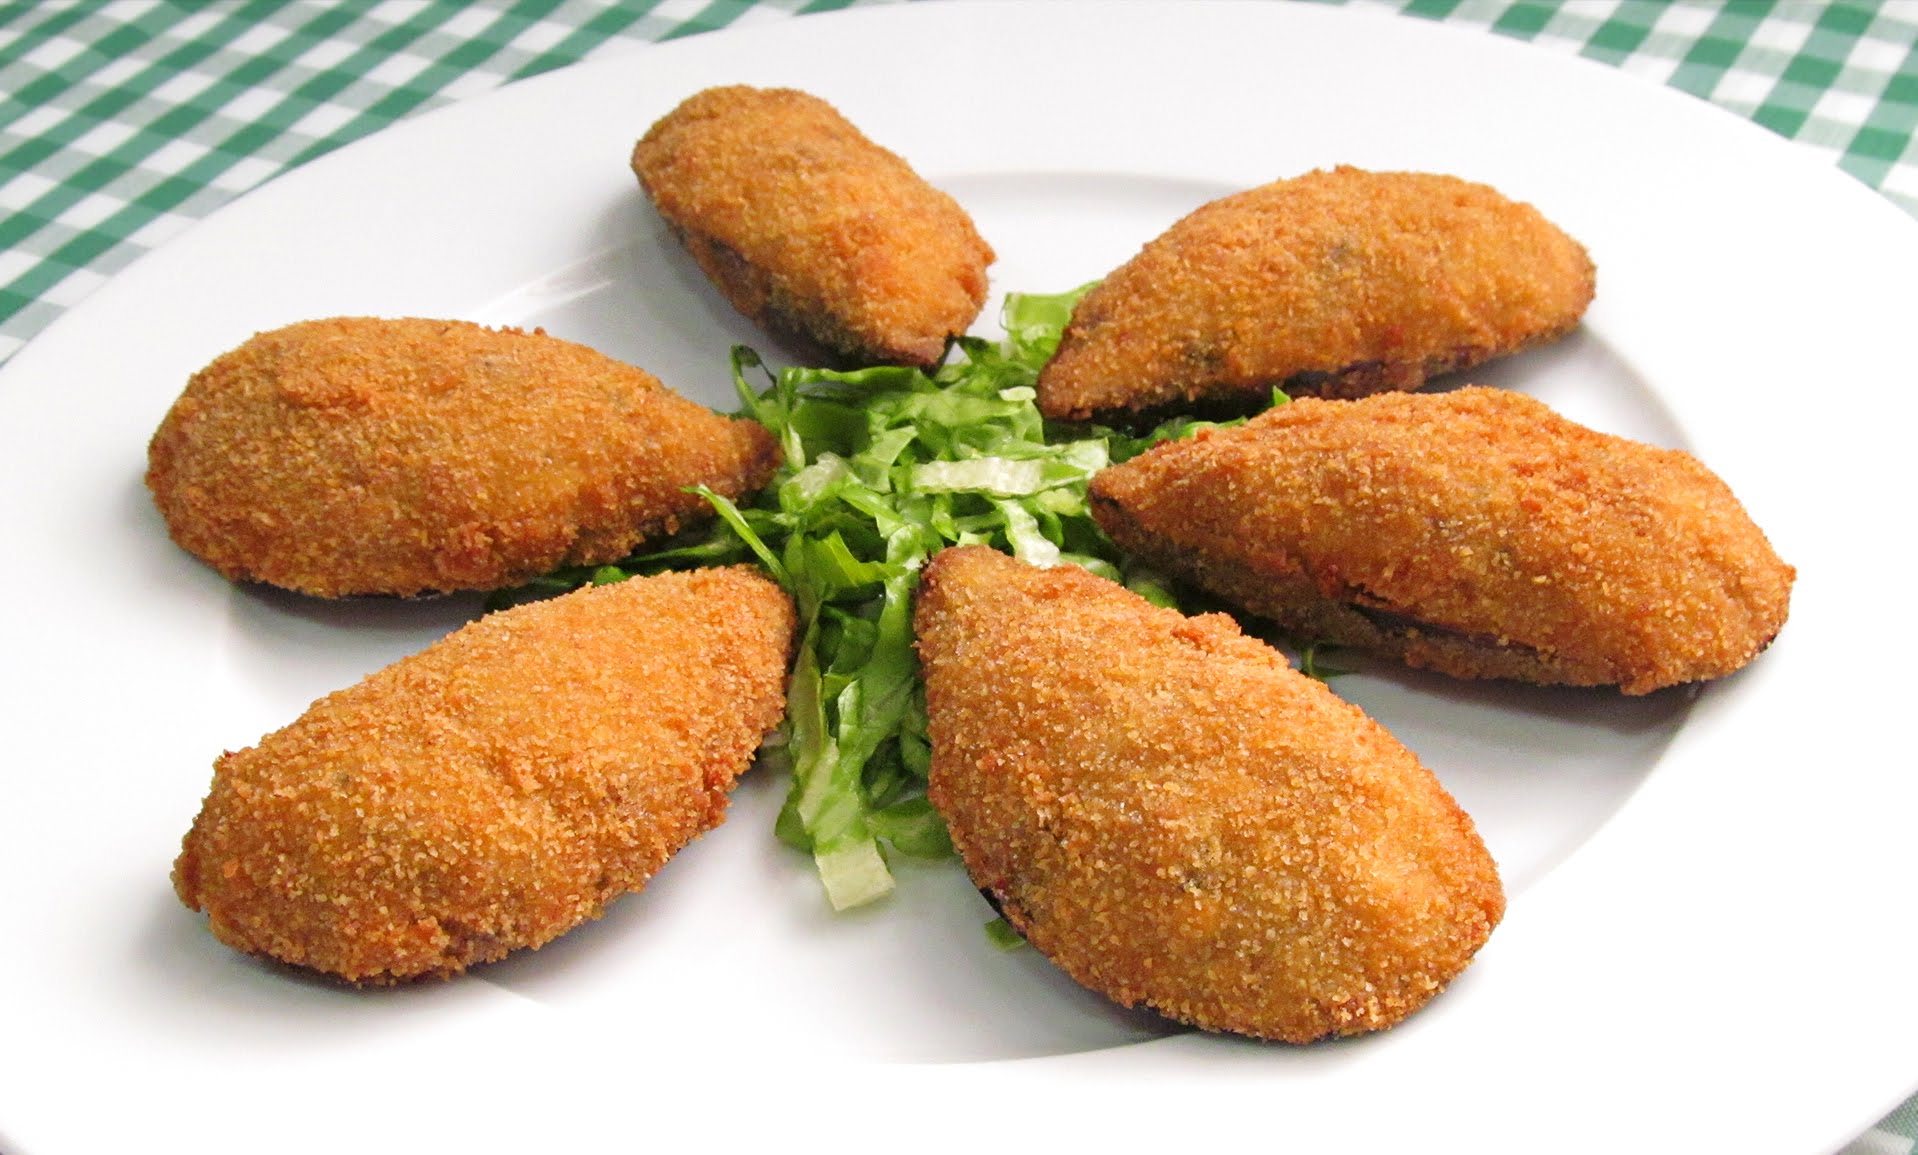
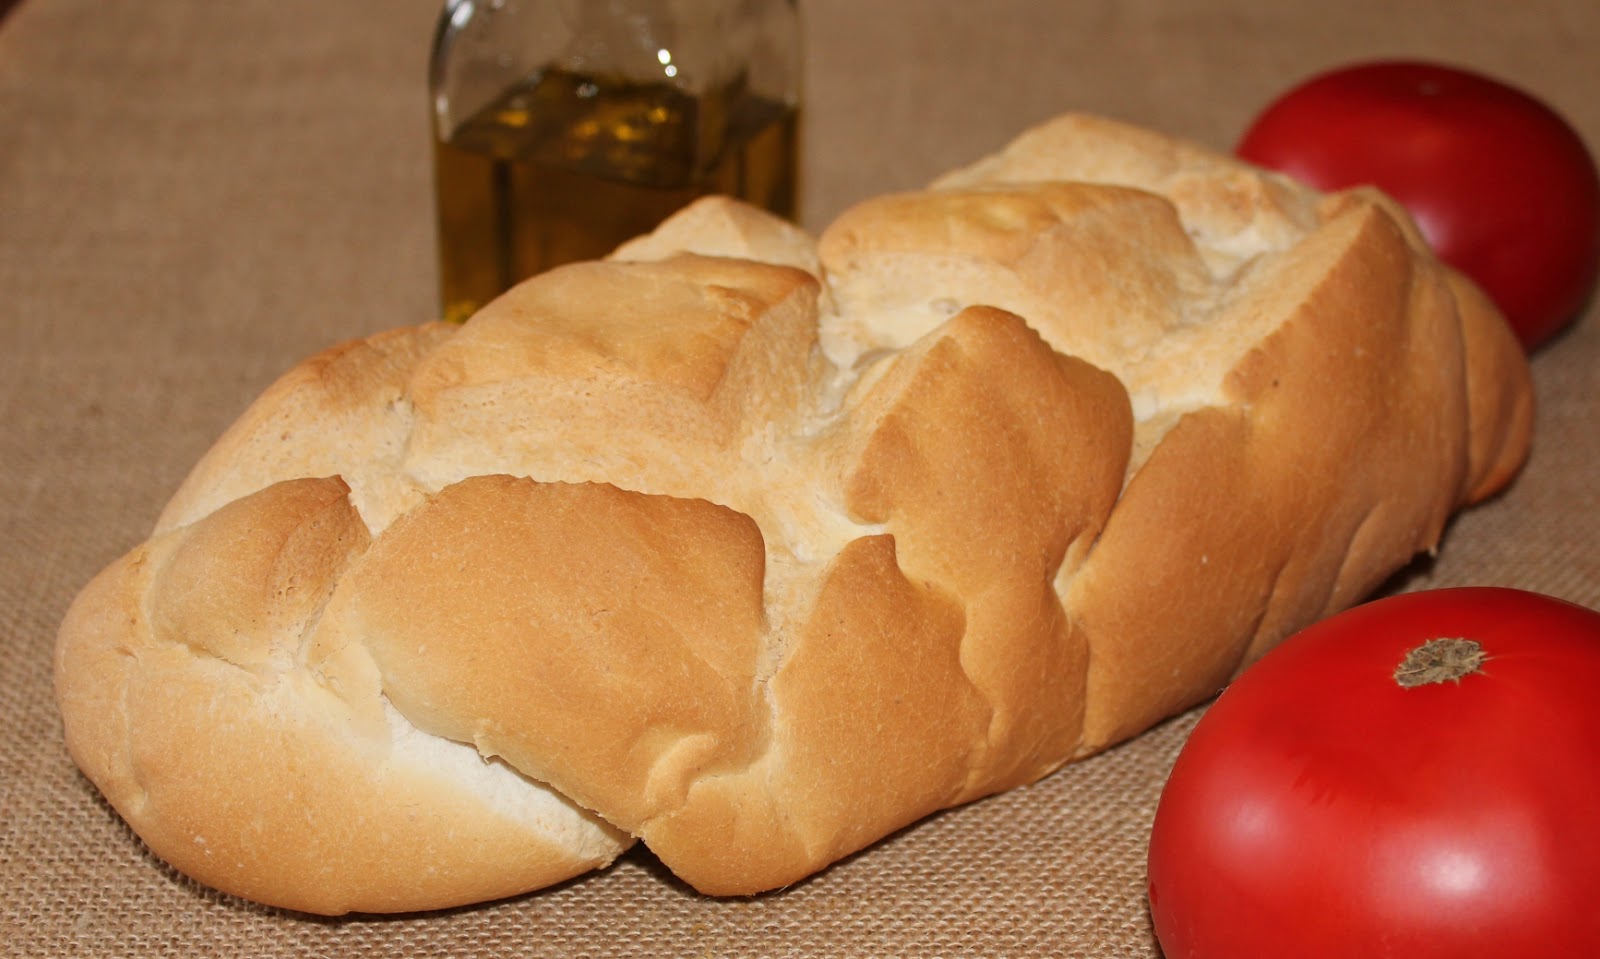
This recipe is a version of the classic Spanish “Tigre”, a mussel and prawn croquette served in the mussel’s shell, which I tasted in Santiago de Compostela many years ago at a friend’s house. It is a very simple recipe and ever so rewarding, a definite hit for any dinner table as a starter. The creaminess of the béchamel (white sauce) and the taste of the sea from the Galician mussels with a touch of garlic and white wine make such a great combination. I must stress that the fresher the mussels the better the result.
As with most recipes in Spain each region has its unique touch, the recipe I am going to share with you is the typical recipe from Galicia, the home of the Spanish mussels.
However if you wish to jazz it up feel free! There are some who have them spicy or very spicy, known as “Angry Tigers” by adding a lot more cayenne pepper and chili. But let’s crack on with the traditional recipe and don’t forget to put a bottle of Albariño white wine from Rias Baixas in the freezer to chill off until serving!
Ingredients Filling:
Extra Virgin Olive Oil
Salt & Pepper
2 Onions
1 green pepper
1 glasses of white wine
300 grams of peeled prawns
1 kg of Mussels
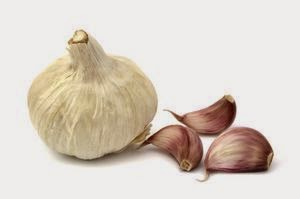
3 Garlic cloves
1 Ripe peeled tomato (put it in boiling water for a minute and then the skin comes off easily)
1 large Bay leaf
Parsley
1 tsp. Cayenne Pepper
2 Eggs
Flour
Breadcrumbs
To make the Bechamel:
700 ml full fat Milk
80g of Flour
70ml of Extra Virgin Olive Oil
Salt & Pepper
Let's crack on :
Wash the mussels really well in cold water and remove all the algae and dirt from the shell and rinse well.
Heat a glass of white wine in the pan, when the wine begins to boil add a bay leaf , a few sprigs of parsley and then the mussels. Put the lid on and shake a little until all the mussels are open. Once all the mussels have opened remove them from the pan. Wait a few minutes and then remove all the mussels from the shells with a spoon. Let them cool on a plate. Reserve the liquid in the pan for later (wine with mussel juice). If you want, just pour the liquid into a glass and keep it to one side.
Now we need to finely chop up the mussels and keep to one side.
Thoroughly wash and scrub the empty shells because we are going to use them to hold the filling the and thus put them in our mouths!
I usually buy prawns already peeled but uncooked, so all I have to do is chop them into small pieces. So chop them up and put them to one side too.
 Now you need to chop the onions, garlic cloves, peeled tomato and pepper into very small pieces. Add Extra Virgin Olive Oil to a frying pan and fry the garlic first for about half a minute, then the onions and green pepper, then cook over low heat for about 10 minutes until it is all soft, it should not be crunchy at all. Taste and season the mixture with salt and pepper. Now you need to chop the onions, garlic cloves, peeled tomato and pepper into very small pieces. Add Extra Virgin Olive Oil to a frying pan and fry the garlic first for about half a minute, then the onions and green pepper, then cook over low heat for about 10 minutes until it is all soft, it should not be crunchy at all. Taste and season the mixture with salt and pepper.
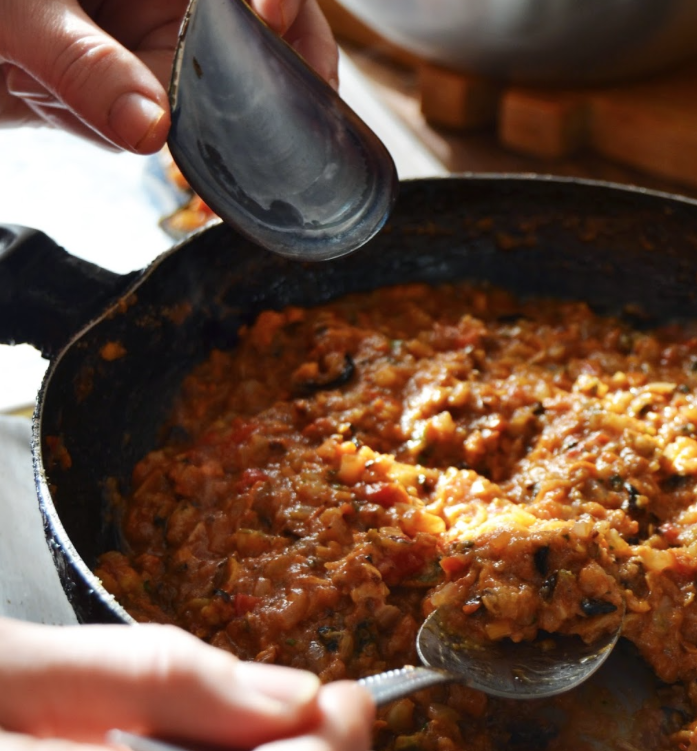
Now add the chopped mussels and prawns followed by a glass of the ‘mussel and wine broth’ we put aside earlier!
Add the chopped tomato and a teaspoon of cayenne pepper. Let it all simmer on medium heat for about 10 minutes until the liquid has pretty much evaporated. Stir with a wooden spoon for a couple of minutes and then remove the pan from the heat.
To make the bechamel, add the extra virgin olive oil to a pan, add the flour, and lightly cook on low heat for a minute or so and then slowly pour in the milk, stirring constantly. Then add salt and pepper and cook for about 10 minutes over a low heat, stirring it from time to time.
The next step is to mix the bechamel with the mussel and prawn filling and cook for a further 10 minutes, stirring occasionally. It should be of a very thick consistency. Let it cool down a bit.
Finally fill the mussel shells with the filling and leave them in the fridge for a couple of hours so they have completey cooled down.
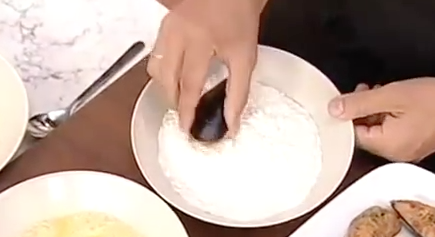 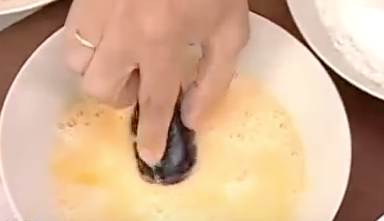
Now we need to dip one in flour, then dip it in egg and finally dip it in breadcrumbs. Make sure the breadcrumbs completely cover the filling. Put to one side and repeat for all the rest.
The last stage is to fry them in Extra Virgin Oilve Oil. Heat the oil, use a piece of bread to judge the temperature. First place them face down in the pan until they are Golden and crisp, the turn them over for a minute and then remove from the pan and set aside to serve with a glass of nicely chilled Albariño White wine.
Enjoy!
 0
Like
Published at 1:32 PM Comments (2)
0
Like
Published at 1:32 PM Comments (2)
Chicken in Salt- "Pollo a la Sal"
Friday, June 19, 2020
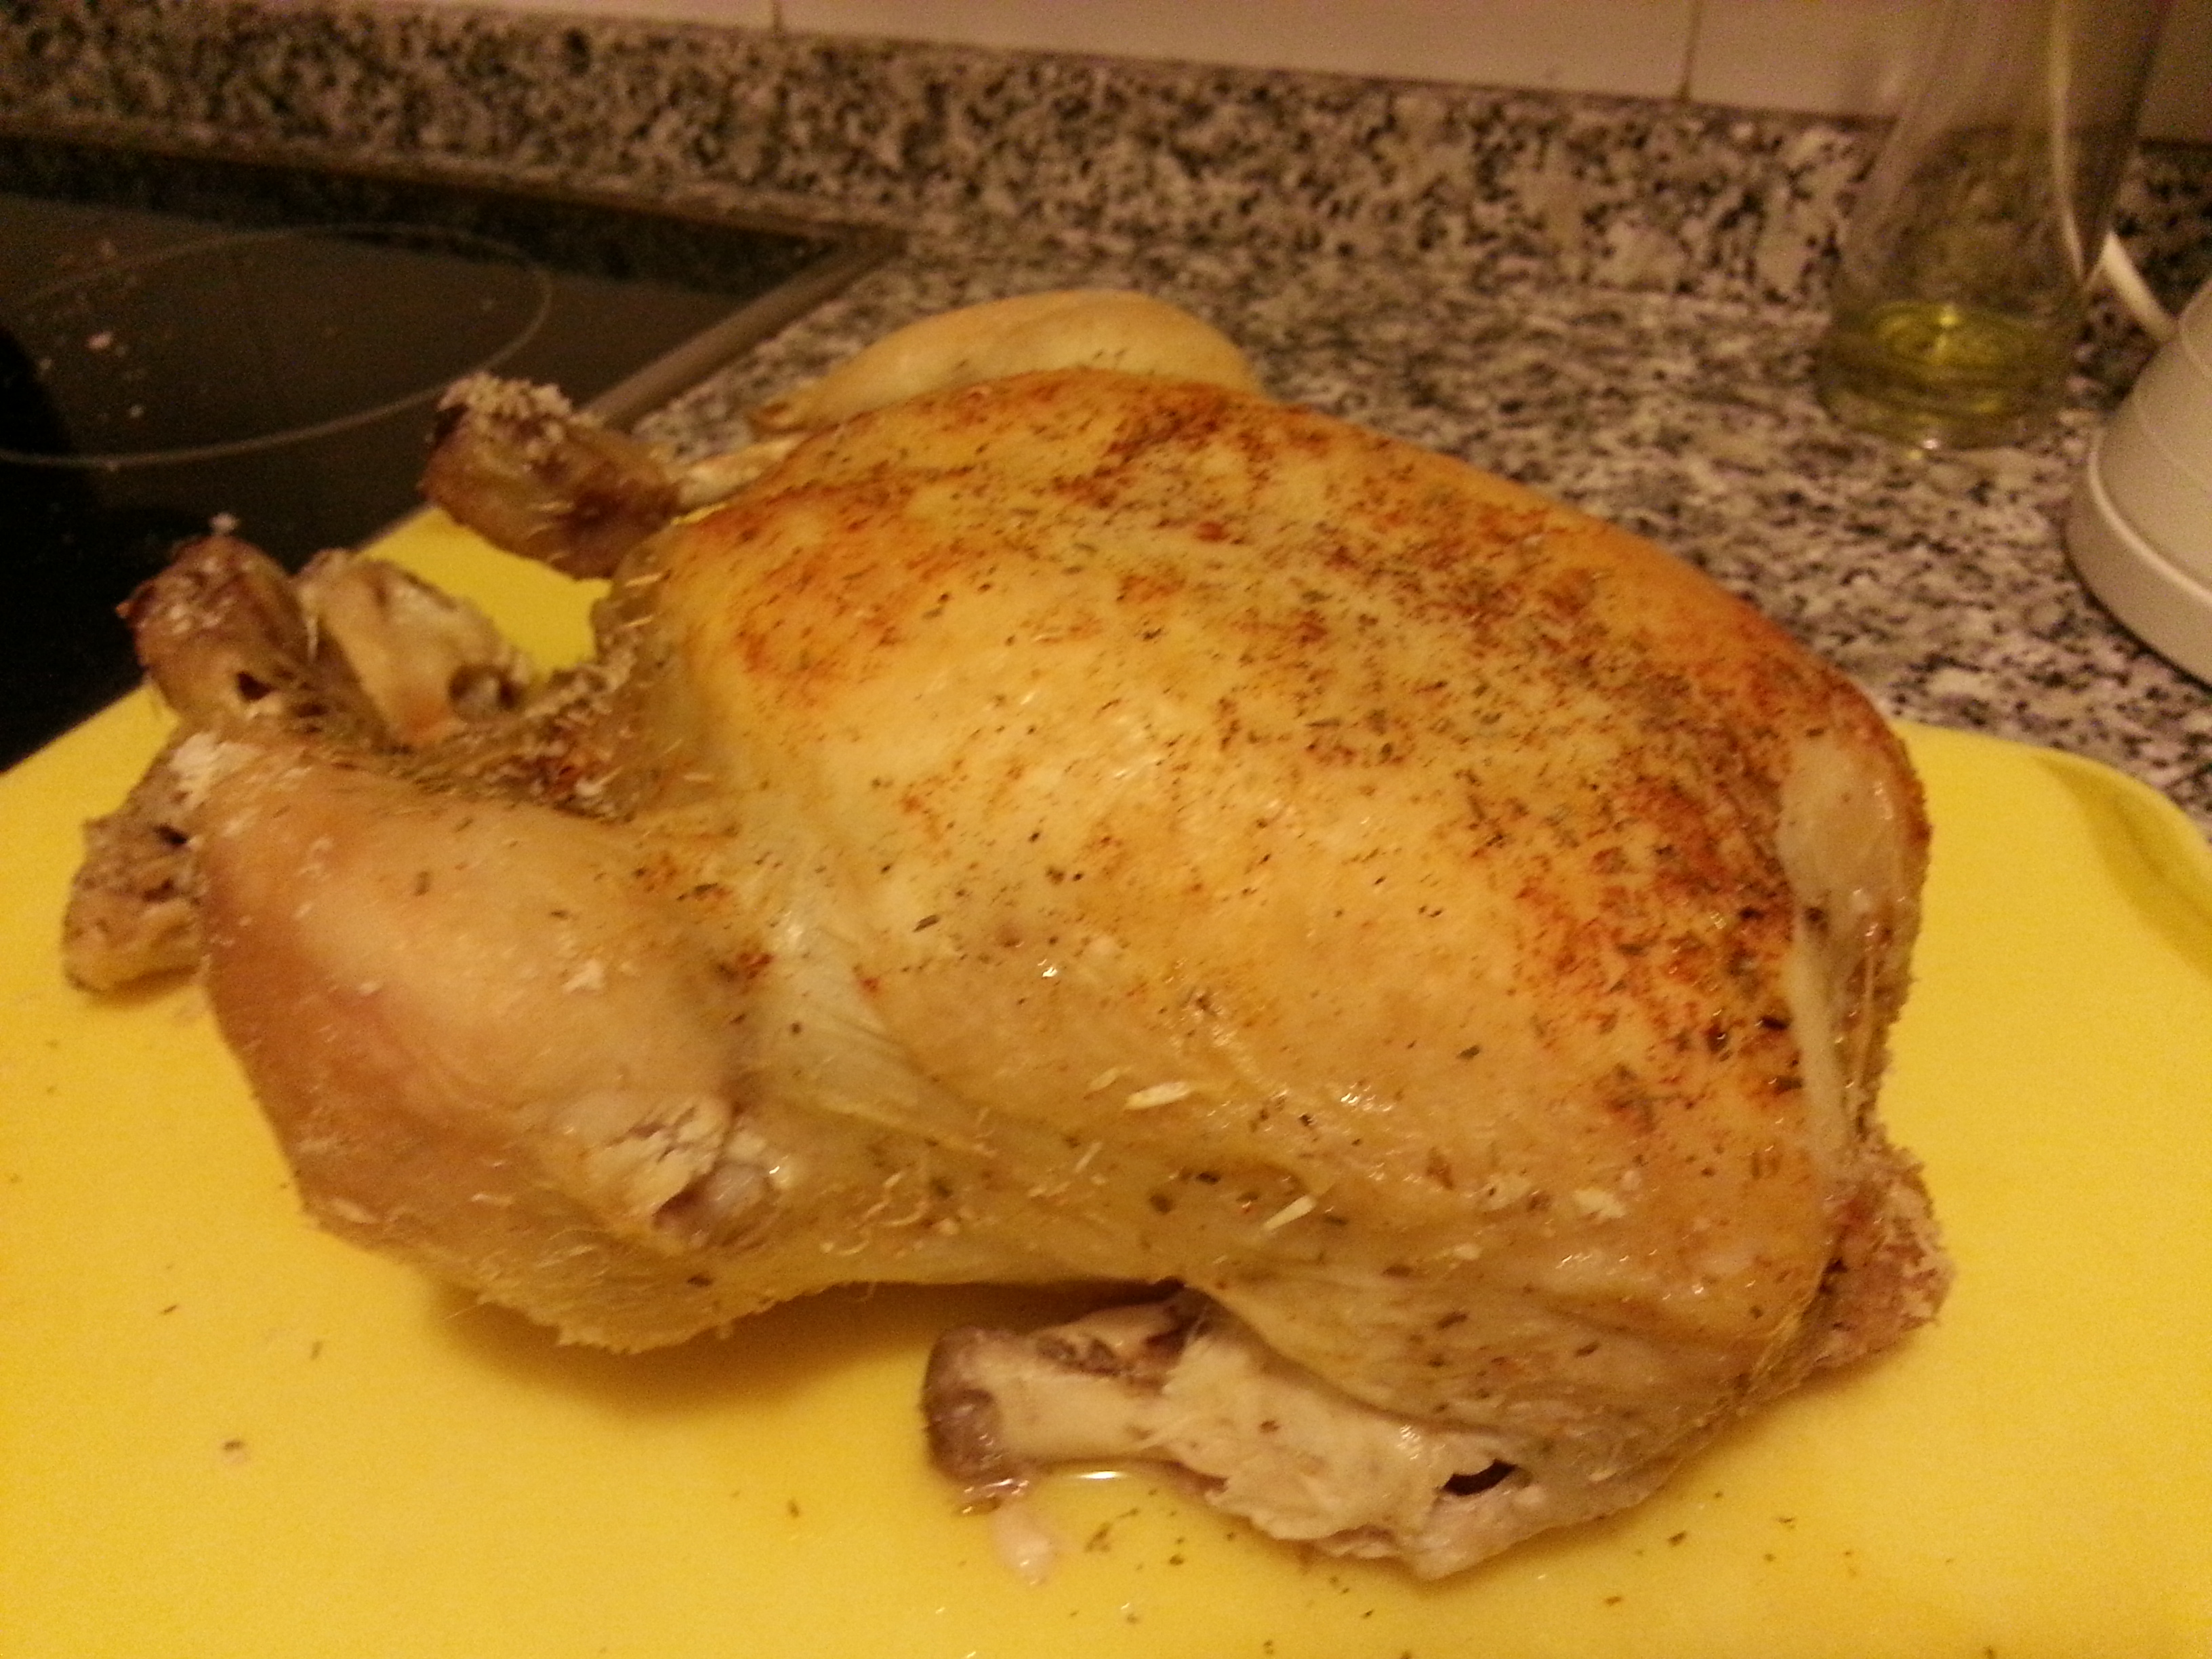
When I was in Spain during my student days there was this recipe that I saw a friend’s mother do and I must be honest I was initially blown away by it, thinking ‘Wow! That’s different, I’ve never seen that before.’ More than a recipe it was really a technique and I have no idea if this technique is traditionally used in the UK or not, I have never seen it being used nor had I ever heard of it being used so when I was 22 it was a real novelty for me and I expect it may well still be a novelty for many people even today. What I am referring to is chicken cooked in rock salt. Those who have been in Spain for a few years may have seen fish cooked in rock salt, it is quite common.
However, this technique is not exclusive to fish but can be used with pretty much any meat. I first saw it being done with chicken. Initially, my thoughts were that the chicken or fish had to be really salty after being in contact with so much salt. But I couldn’t have been more wrong. As the salt is rock salt and bound with egg white, the meat never absorbs it. You may even find yourself salting the meat on the plate once served. The salt merely serves as a hand-made oven, made-to-measure. And it is quite ingenious and ever so simple. Forget about tinfoil or other ideas to keep your chicken moist and succulent, instead encase it in salt and slowly roast it. It is an infallible technique.
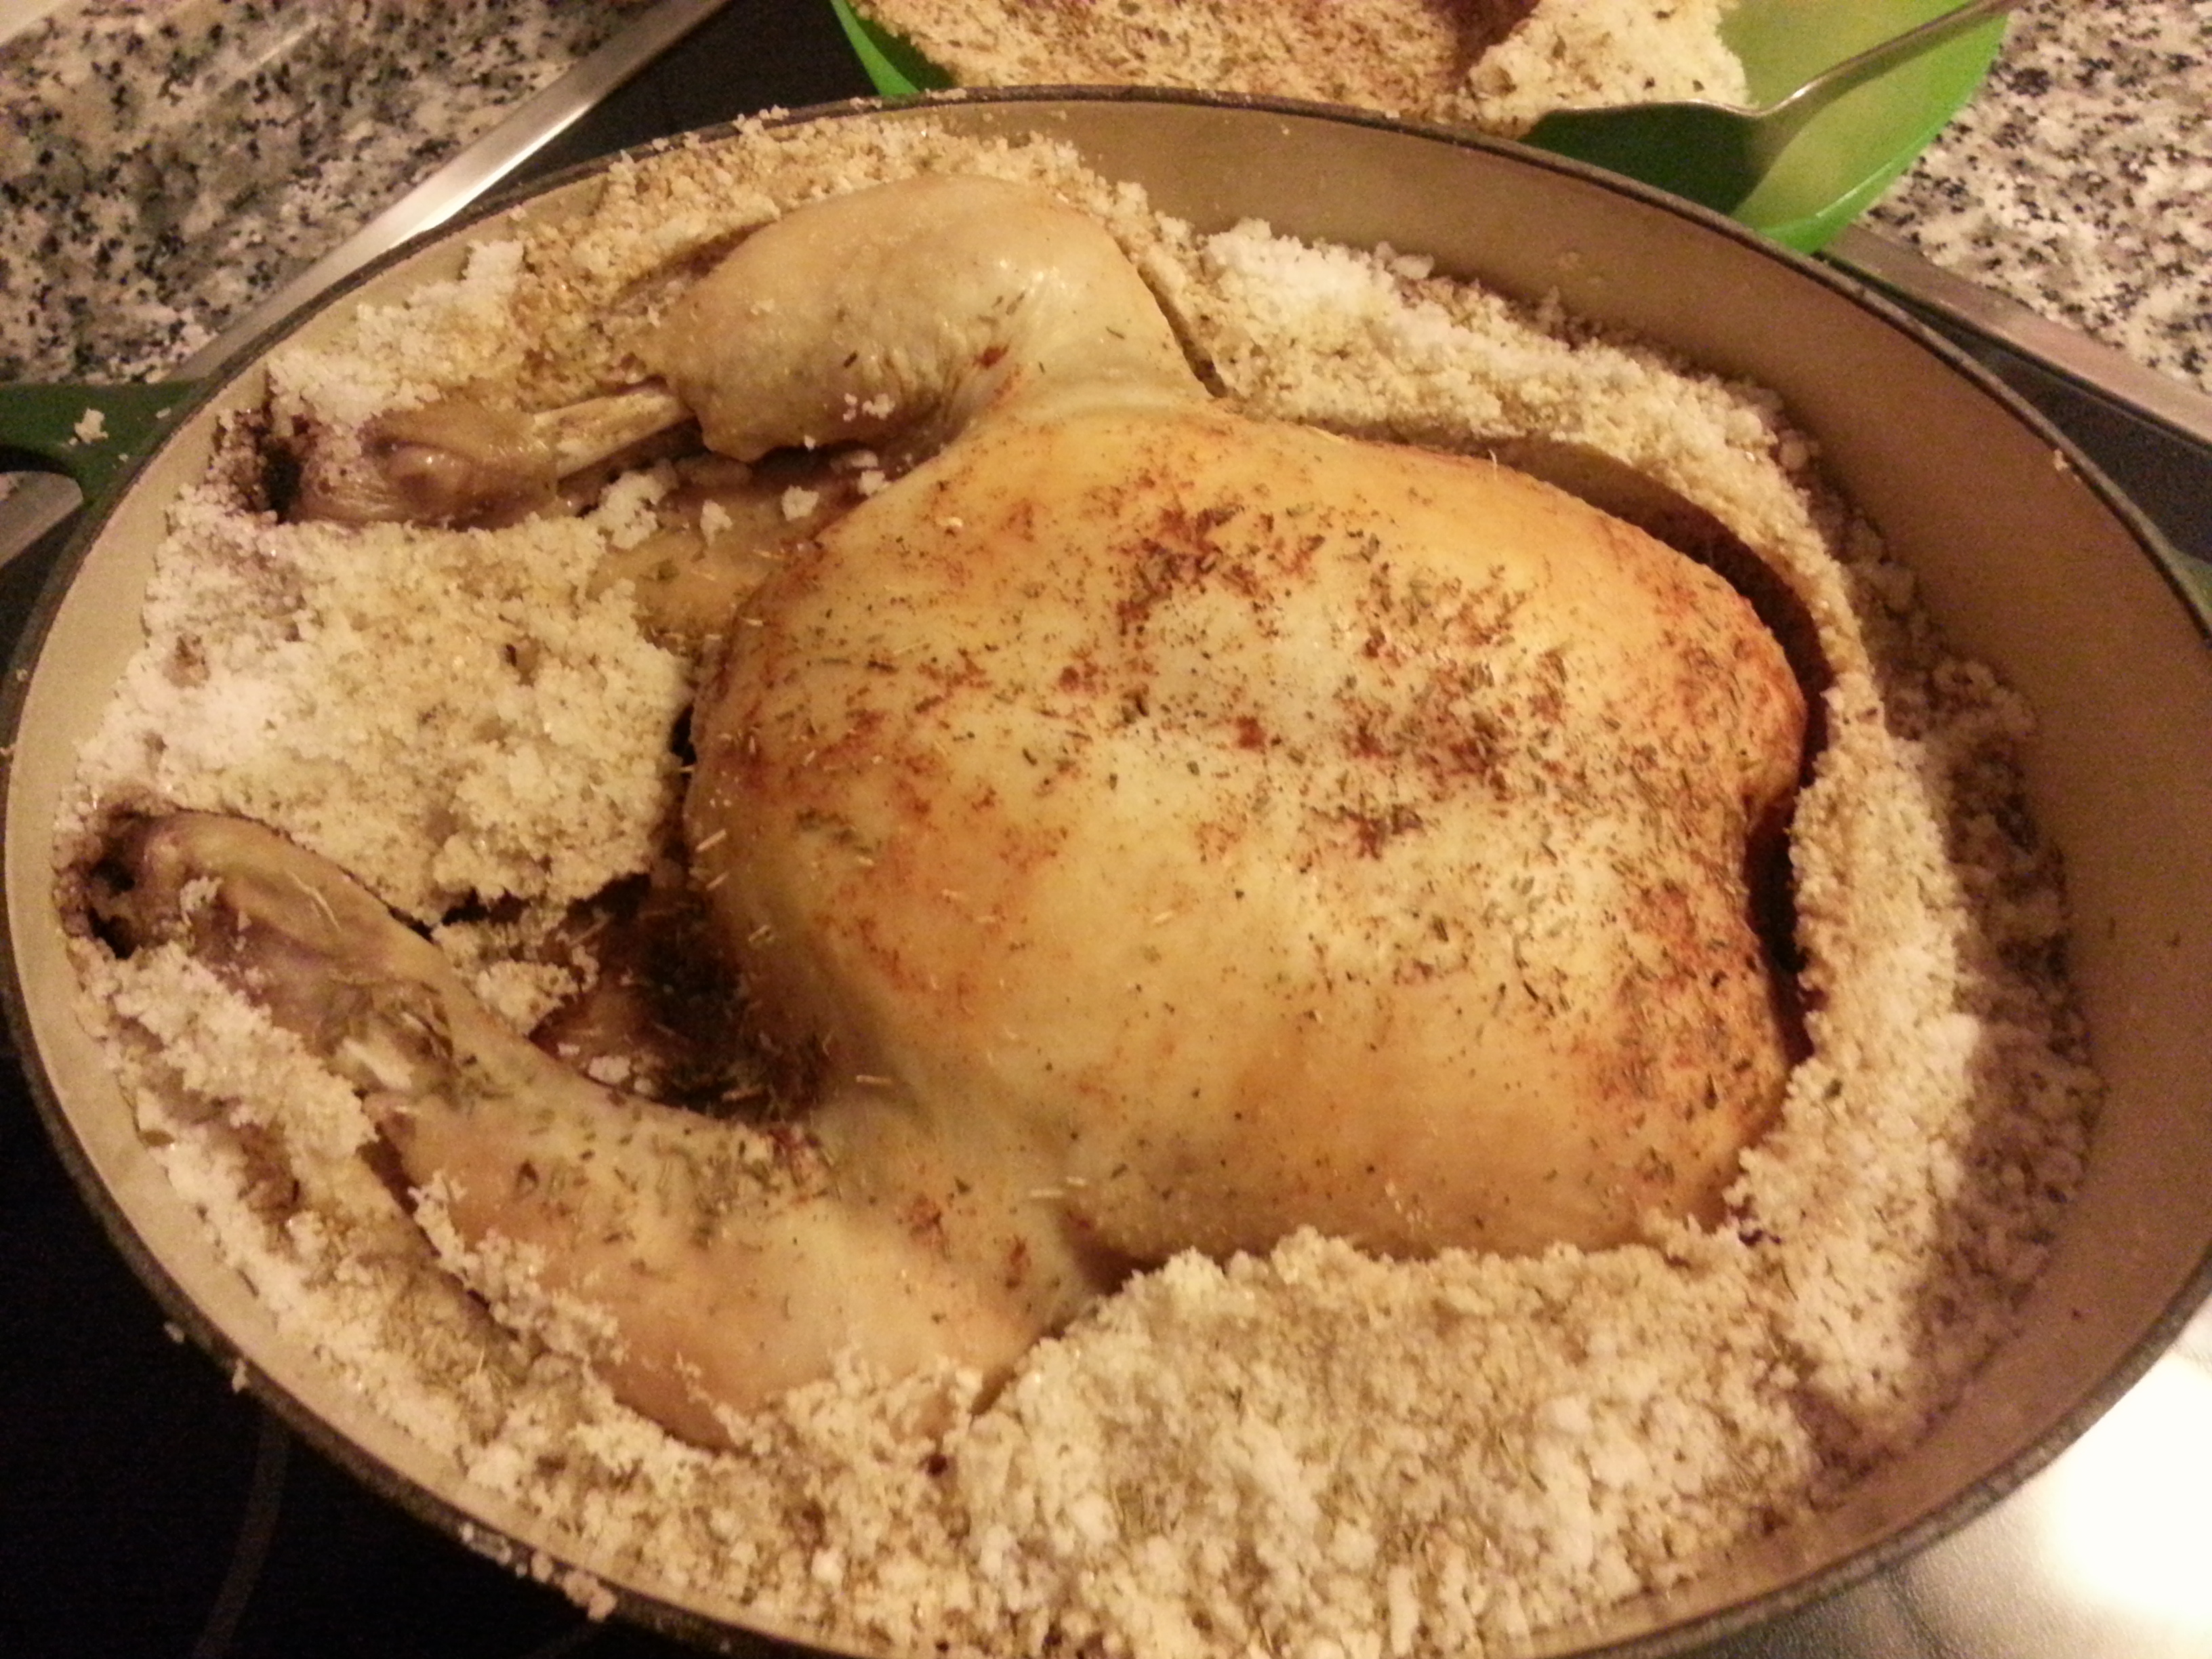
The meat falls off the bone and the legs fall away from the body with the slightest tug. Effectively what you are doing is creating a mould of salt, which hardens as it is roasted sealing off the chicken inside. This means all the juices stay inside and the chicken doesn’t dry out. It also enables you to concentrate different flavours and herbs inside as all the aromas stay inside the hard salt shell and impregnate the meat. Once the cooking time is overall you have to do is crack open the salt and pull out the chicken and serve. You can cook the chicken in salt either in a baking tray or in a casserole pot whichever is more comfortable.
This time I used a casserole pot, but I do recommend lining the pot or tray with tinfoil before. This is something I normally always do with the baking tray, but this time I didn’t do it with the pot and it did take me a while to clean it well and get all the salt out with hot water. If you line it with tin foil, it all just pops out in one piece after cooking, a lot easier! I haven't got round to it yet but my intention is perhaps this year roast a turkey in rock salt and sees the results. If I manage to do it I'll post the results!
Although I didn't do it with this recipe, there is so much more you can do to give the chicken an extra kick. You can stuff it with a sliced clementine or lemon and add bay leaves, rosemary sprigs and thyme, or parsley and garlic with chopped onion or whatever combination tickles your fancy. You can also cover the chicken in bacon strips if you like that, to keep it extra moist. But the results are still great without it. If you stuff the chicken with traditional stuffing mix, you will need to adjust cooking times.
So to roast an average chicken (mine was 2,2kg which is good for 4 adults) you will need the following:
2kg rock salt
3 egg whites
4 crushed garlic cloves
2 bay leaves
Black Pepper
1 tbsp Oregano
1 tbsp Rosemary
1 tbsp Smoked Paprika
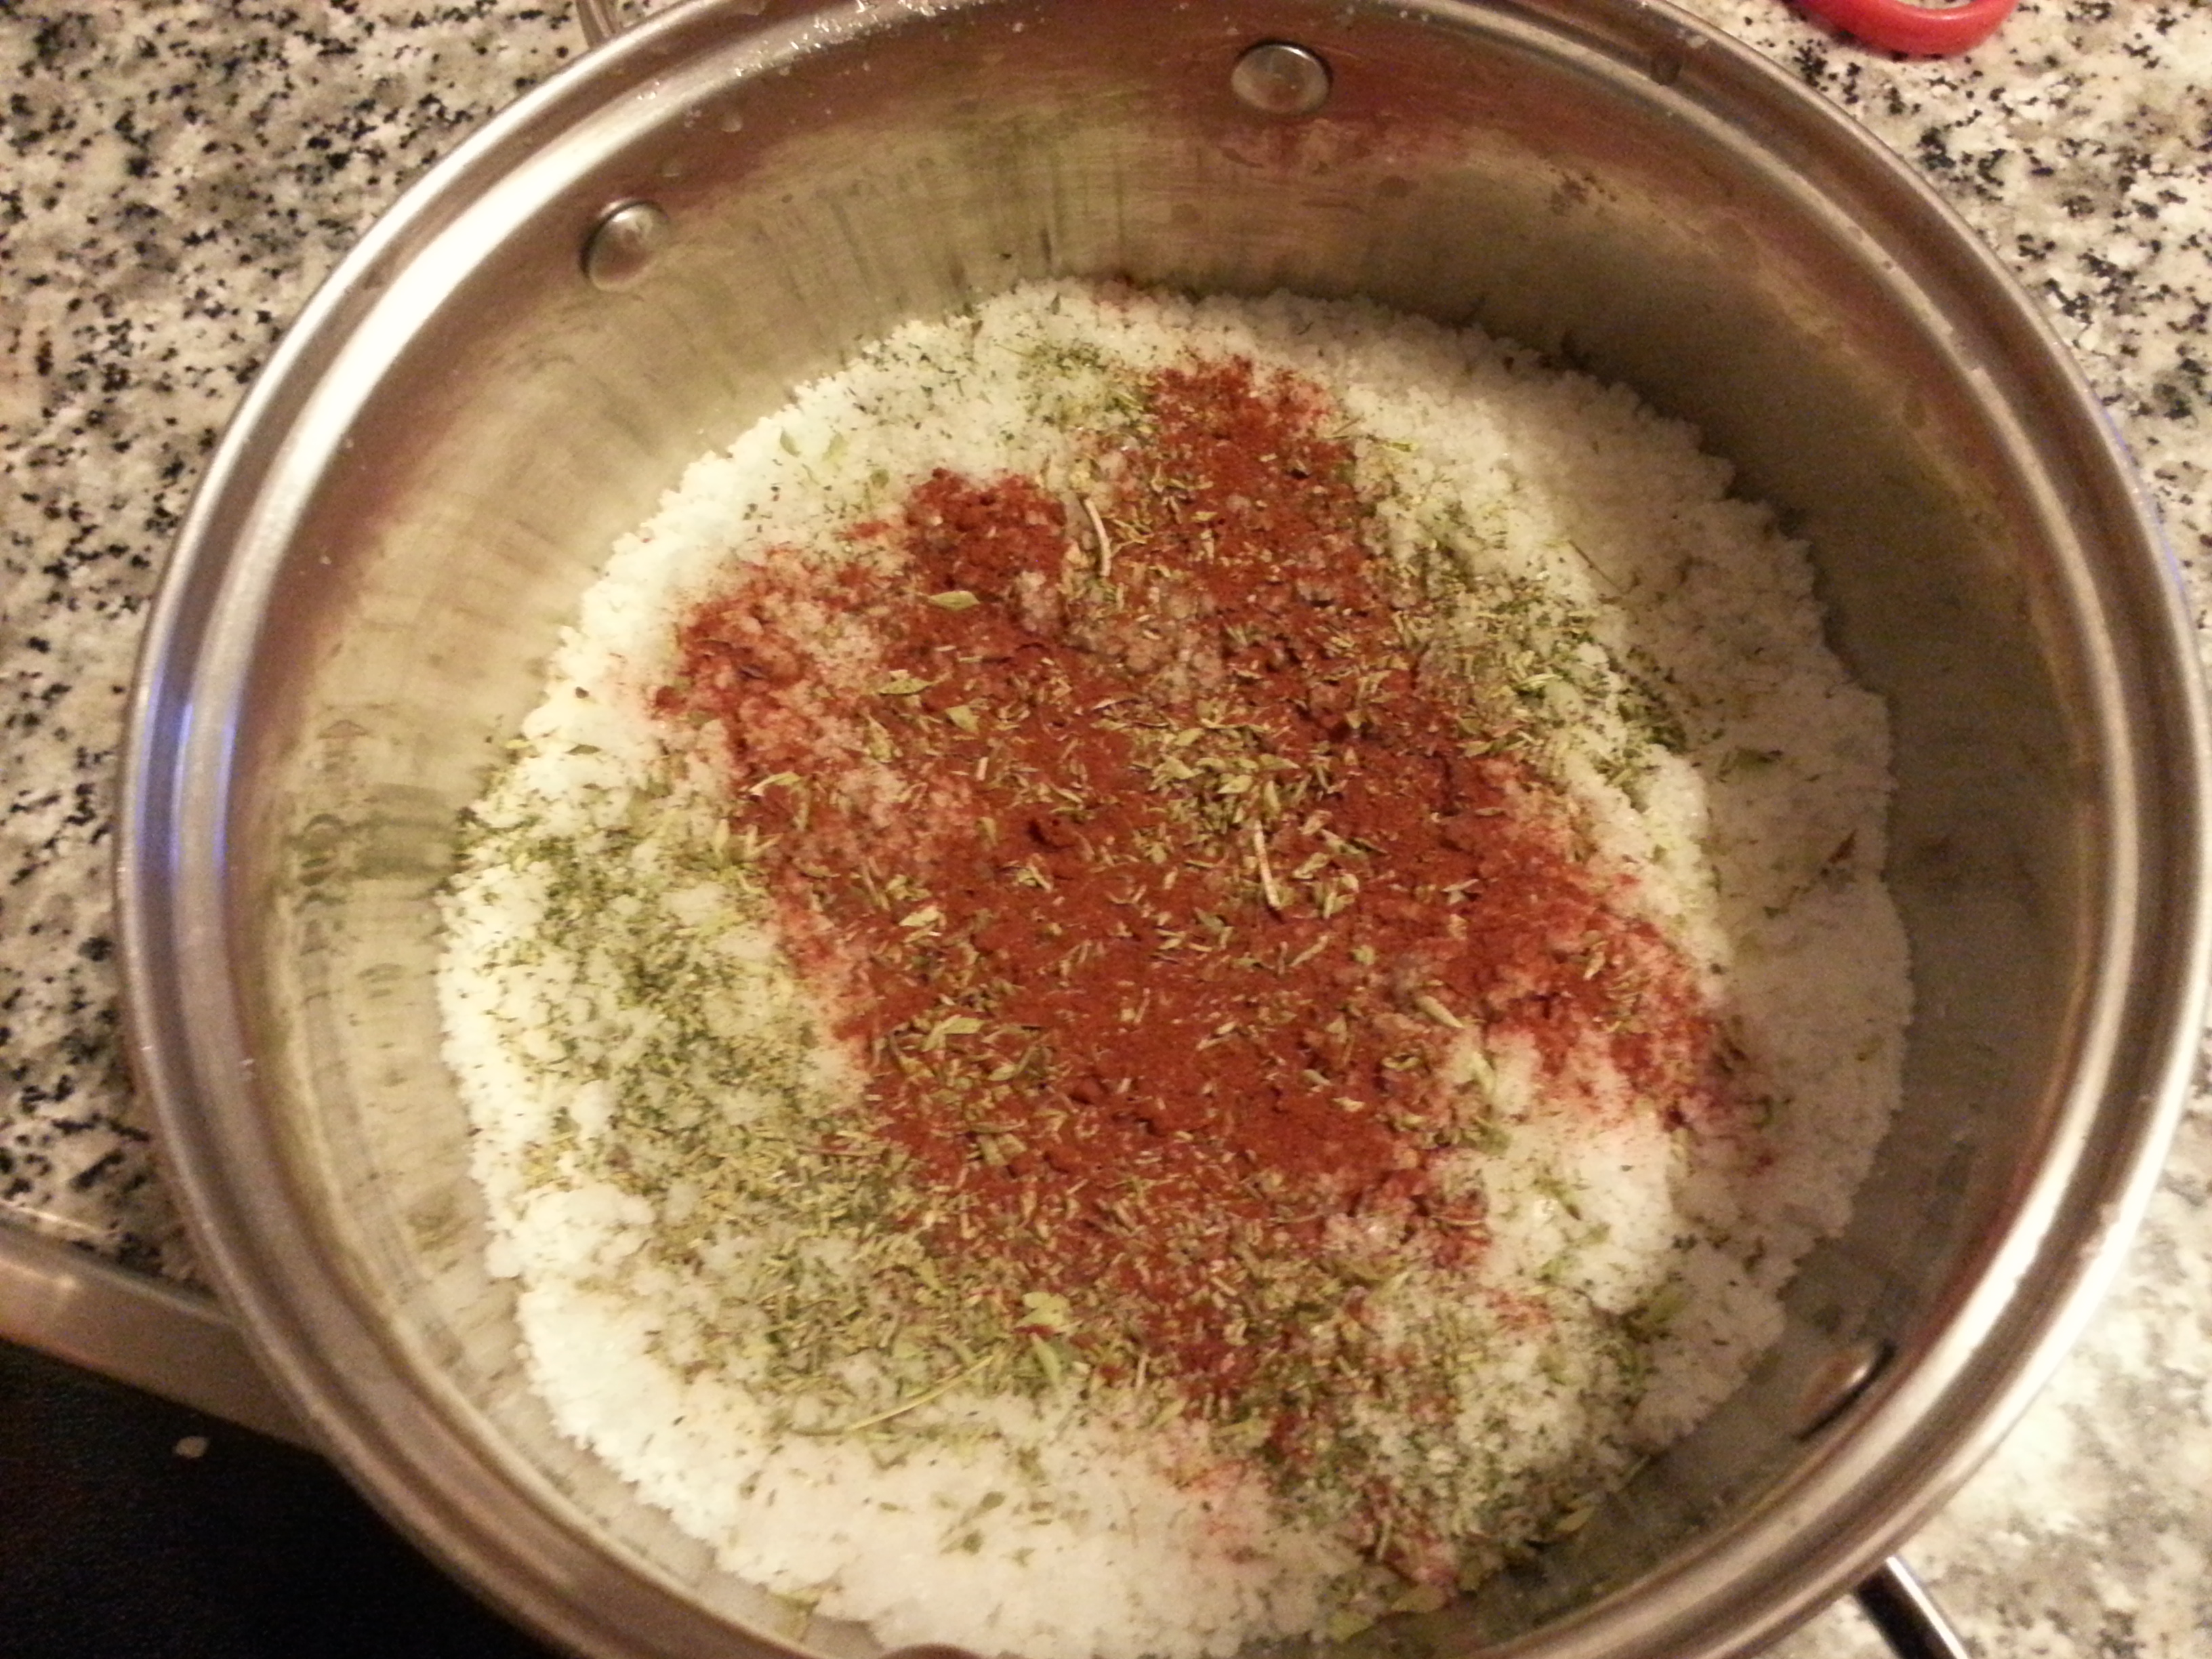
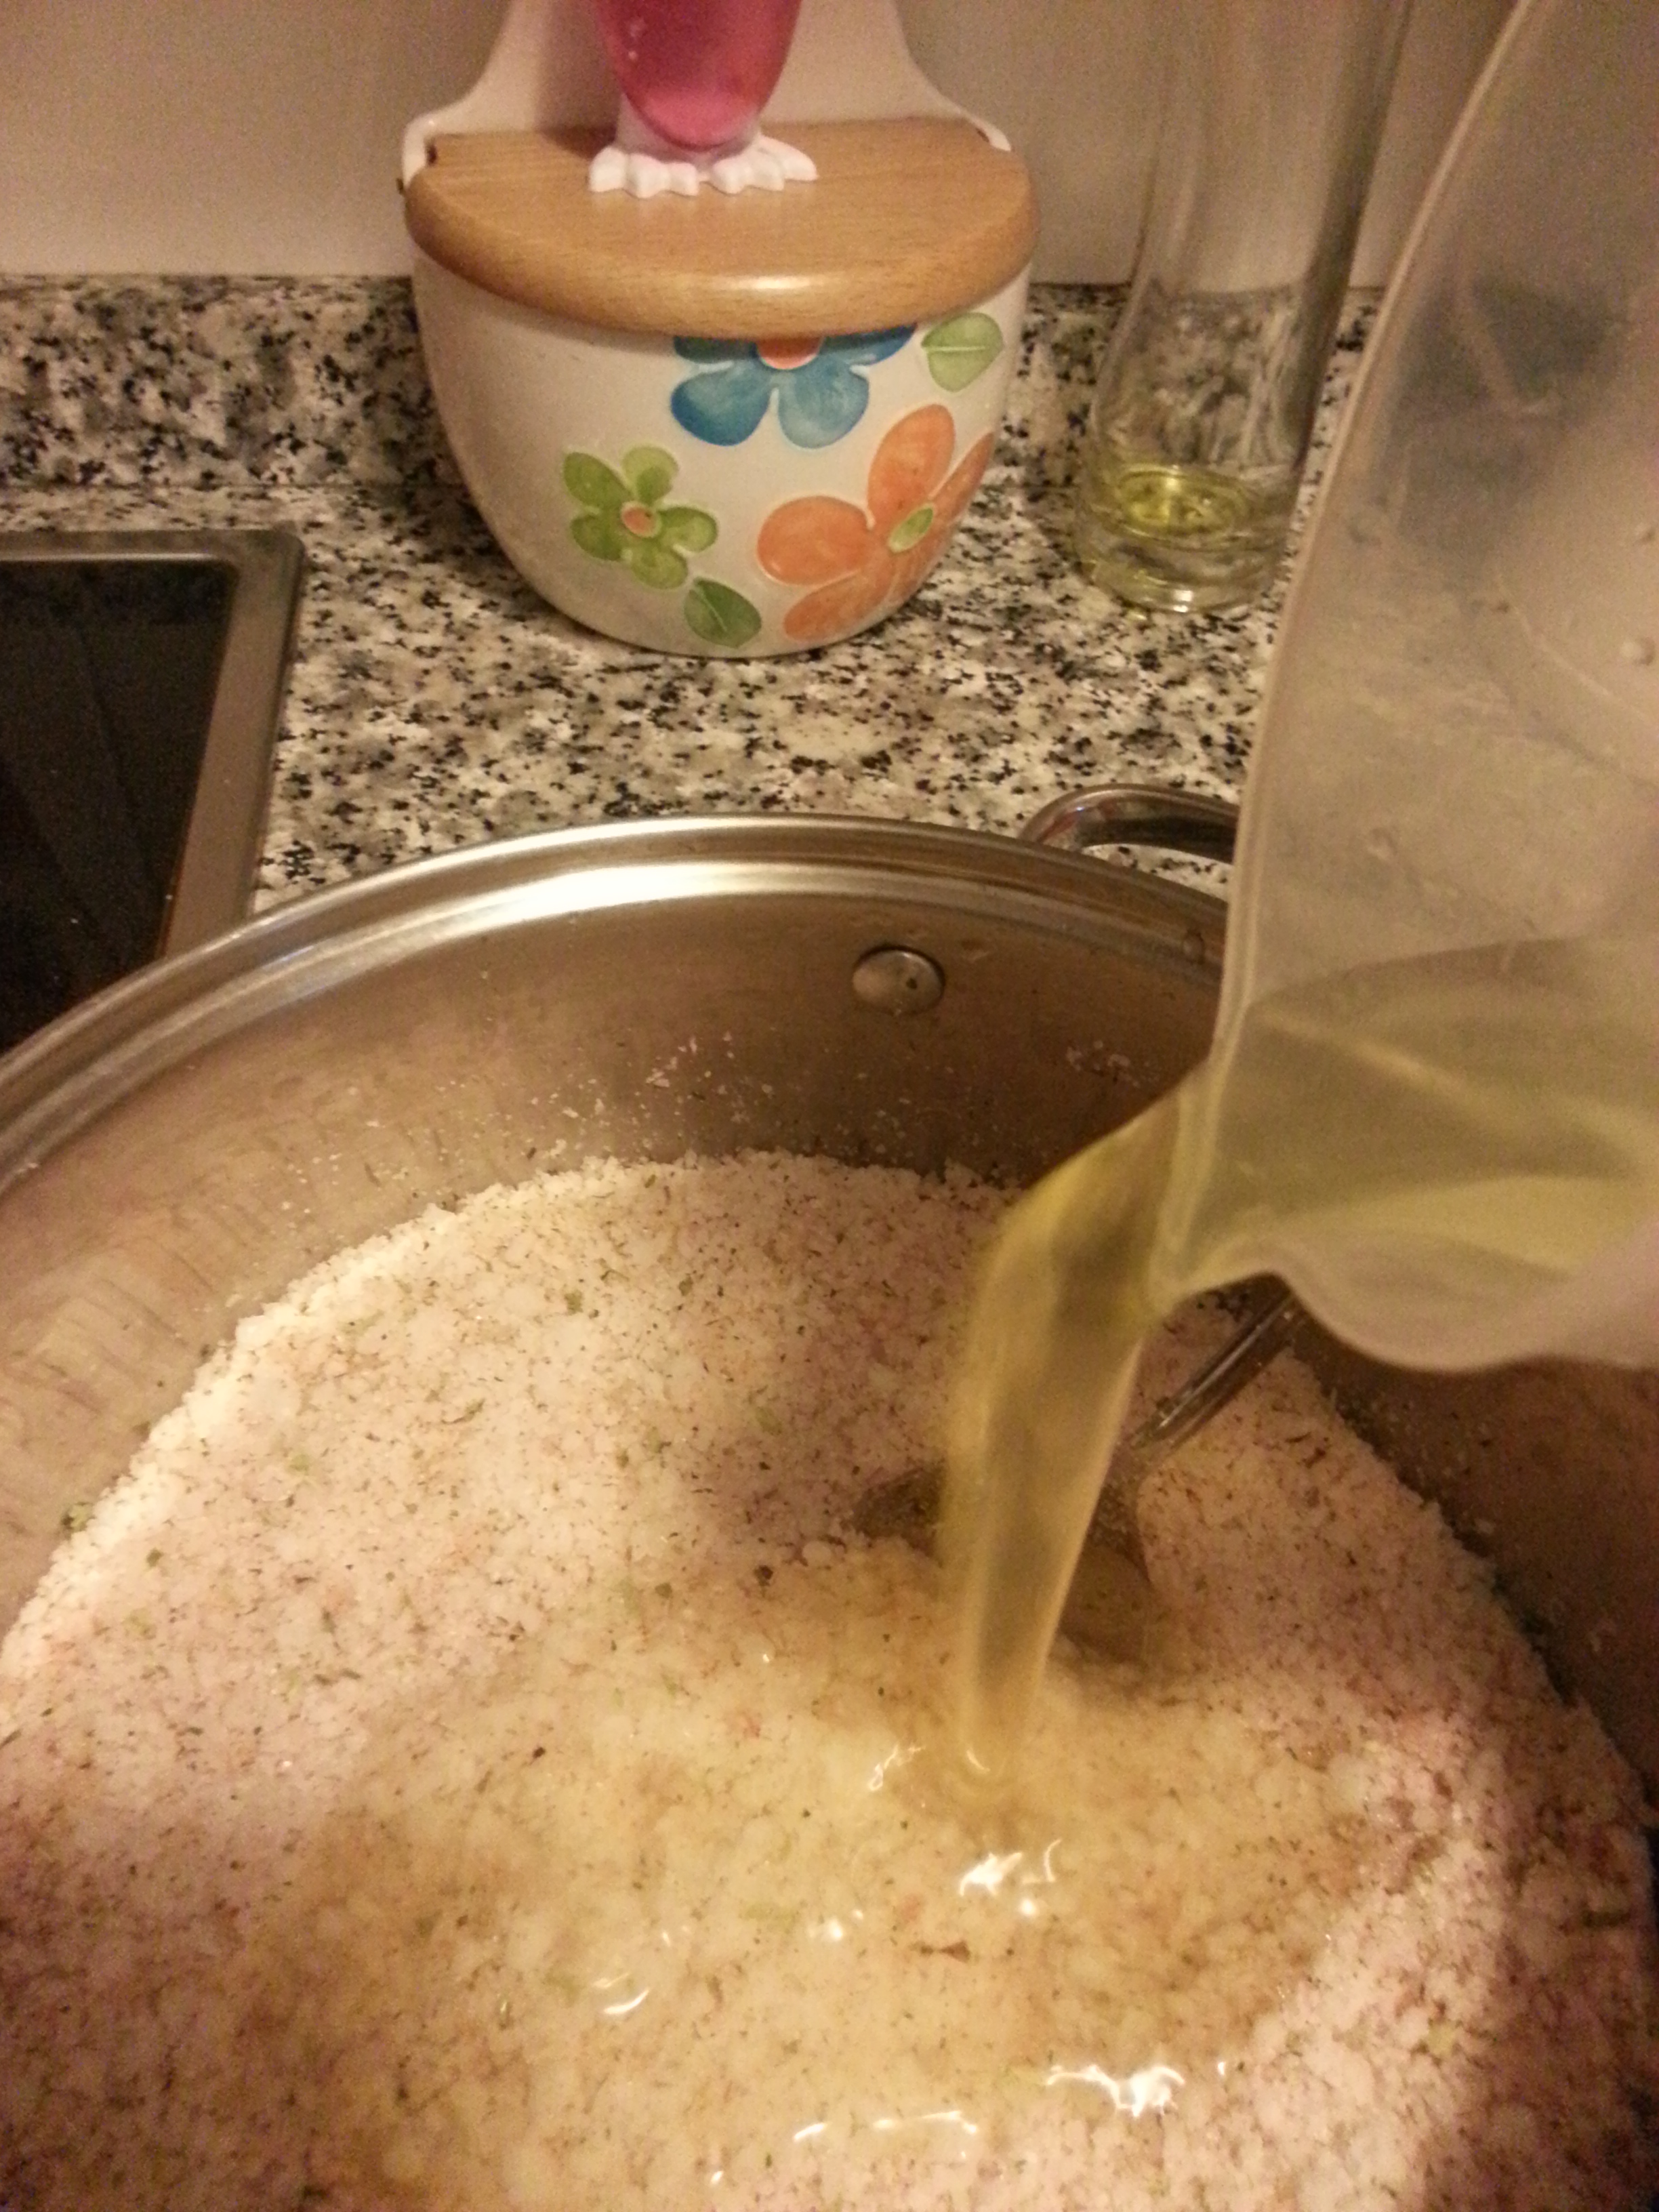
Step 1: Prepare the salt – place all the salt into a big bowl. Add the oregano, rosemary and paprika to the salt along with the three egg white and stir it all in.
Step 2: Line the bottom of the casserole pot with about 1cm of salt.
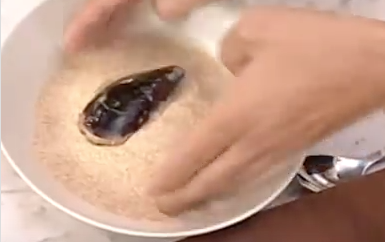
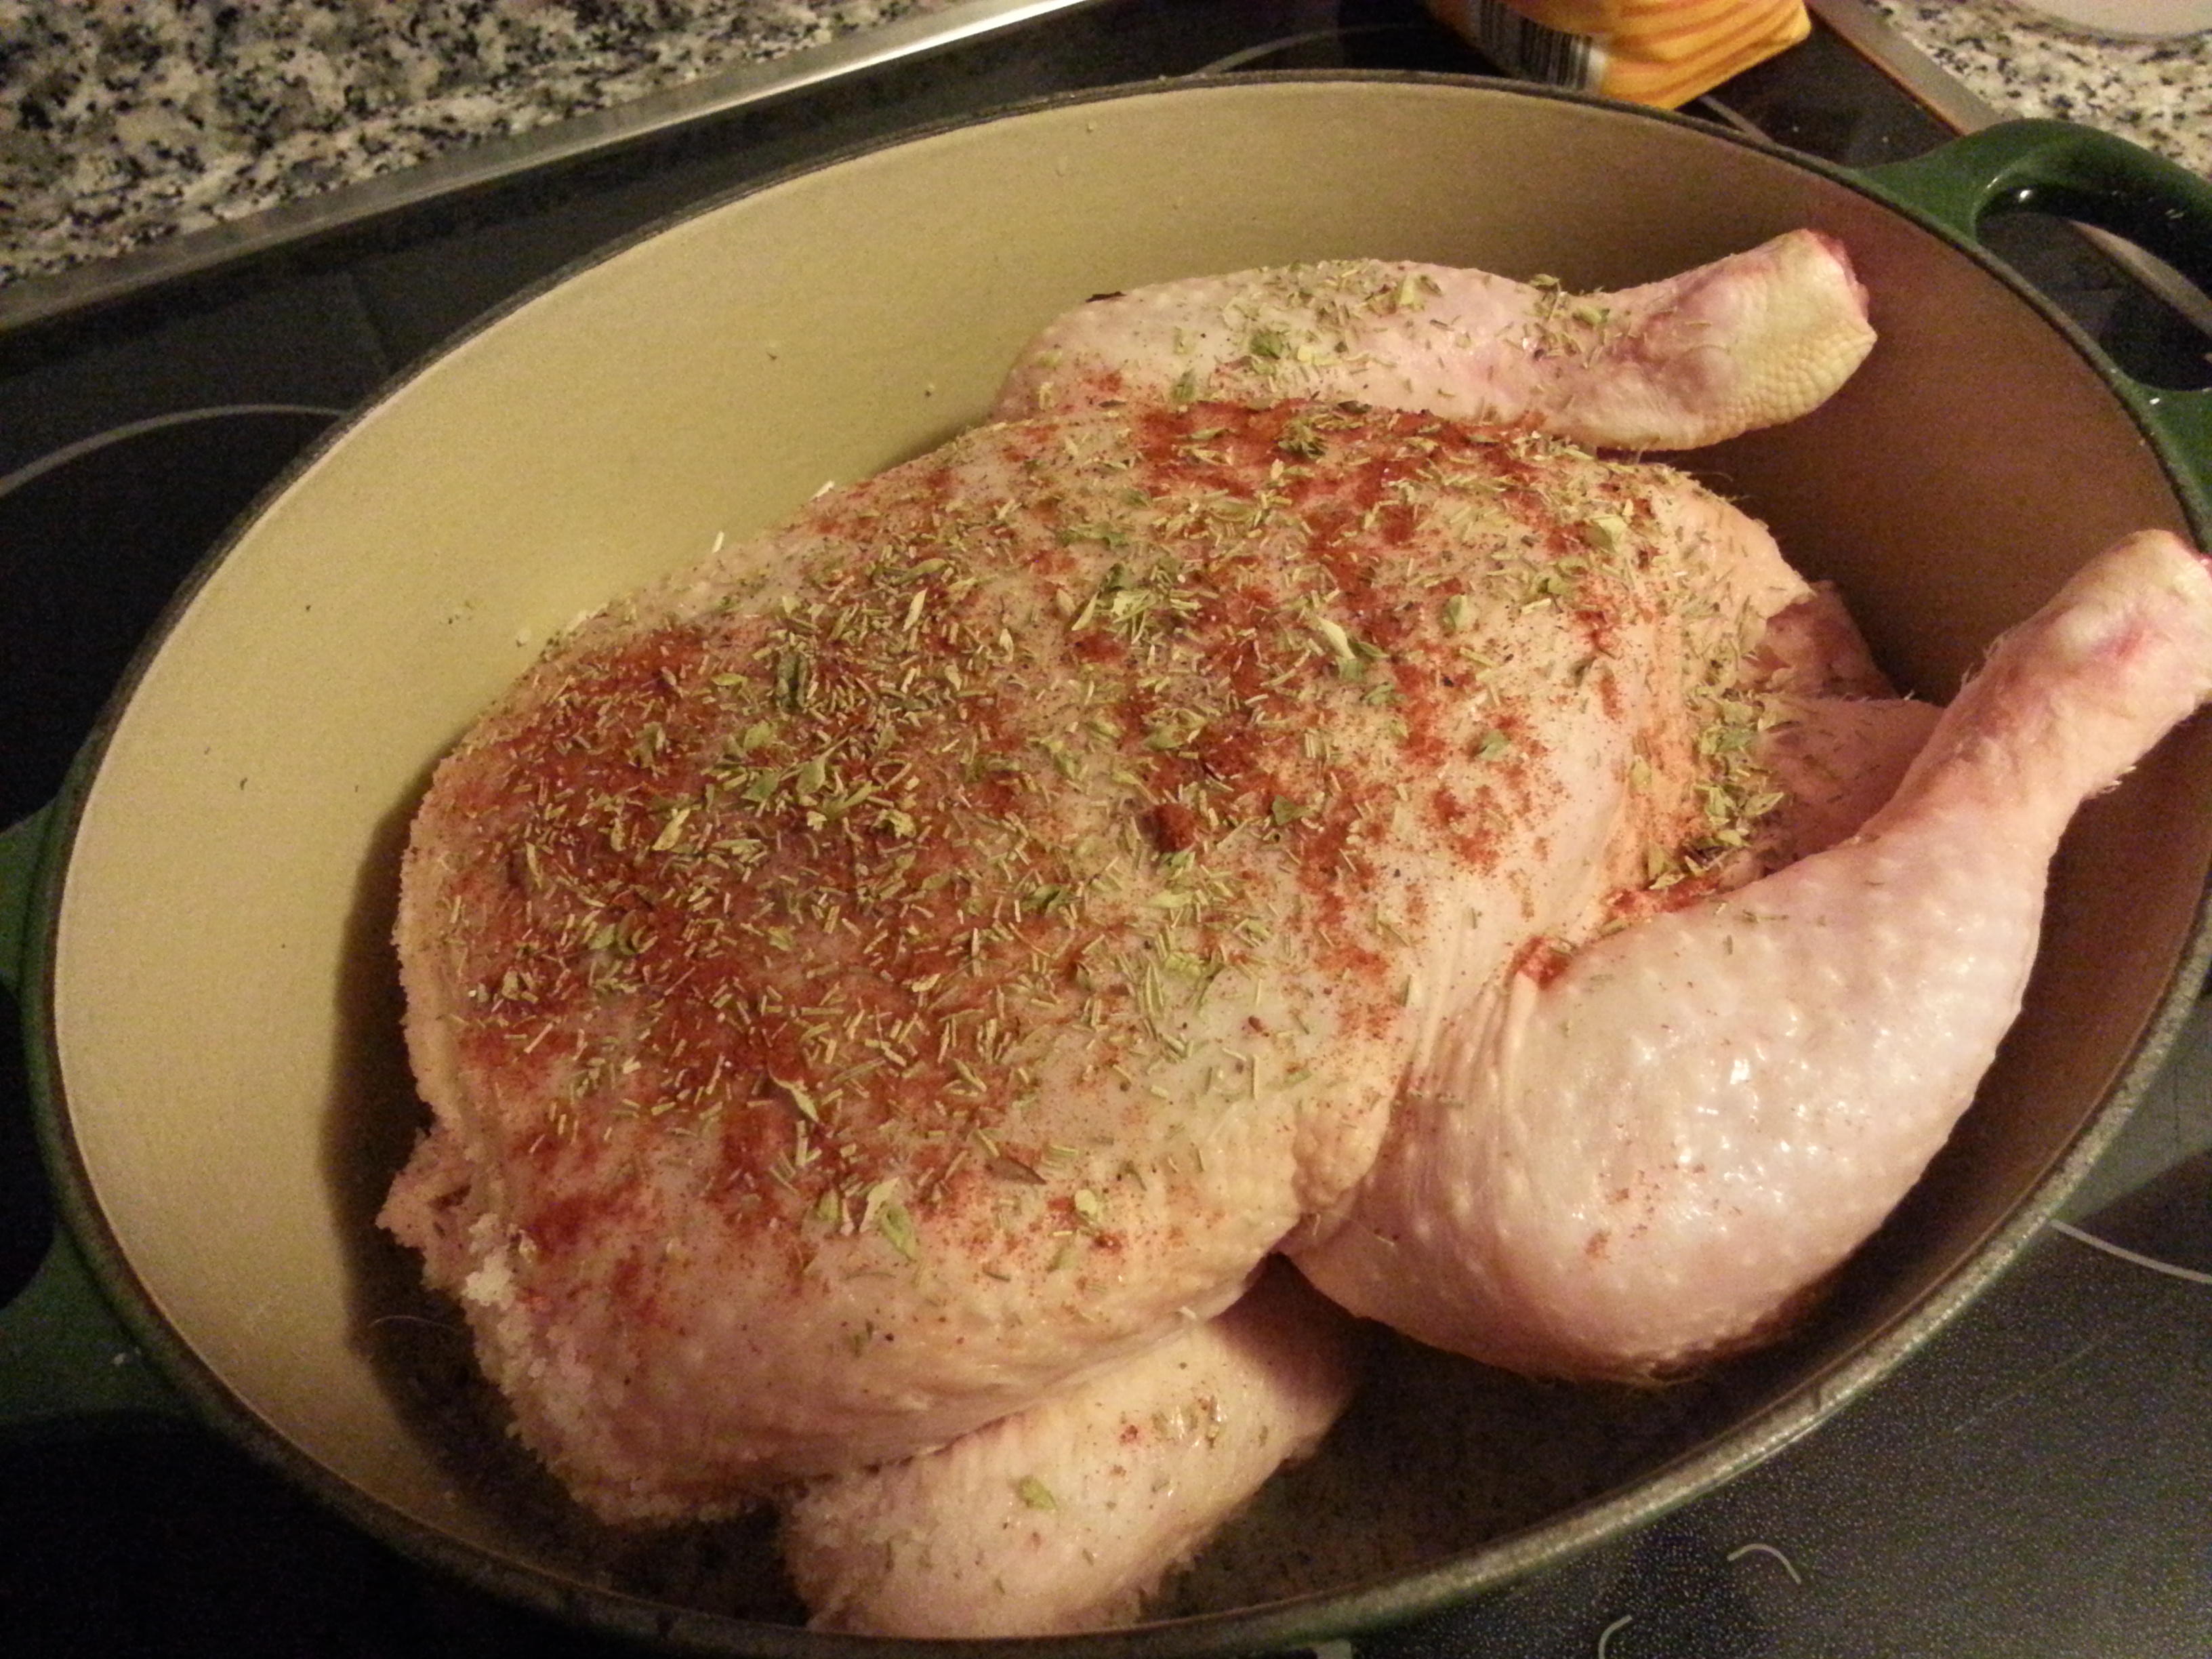
Step 3: Stuff the chicken with the 4 crushed garlic cloves and the bay leaves
Step 4: Place the chicken in the pot and sprinkle some paprika, oregano, rosemary and black pepper over it.
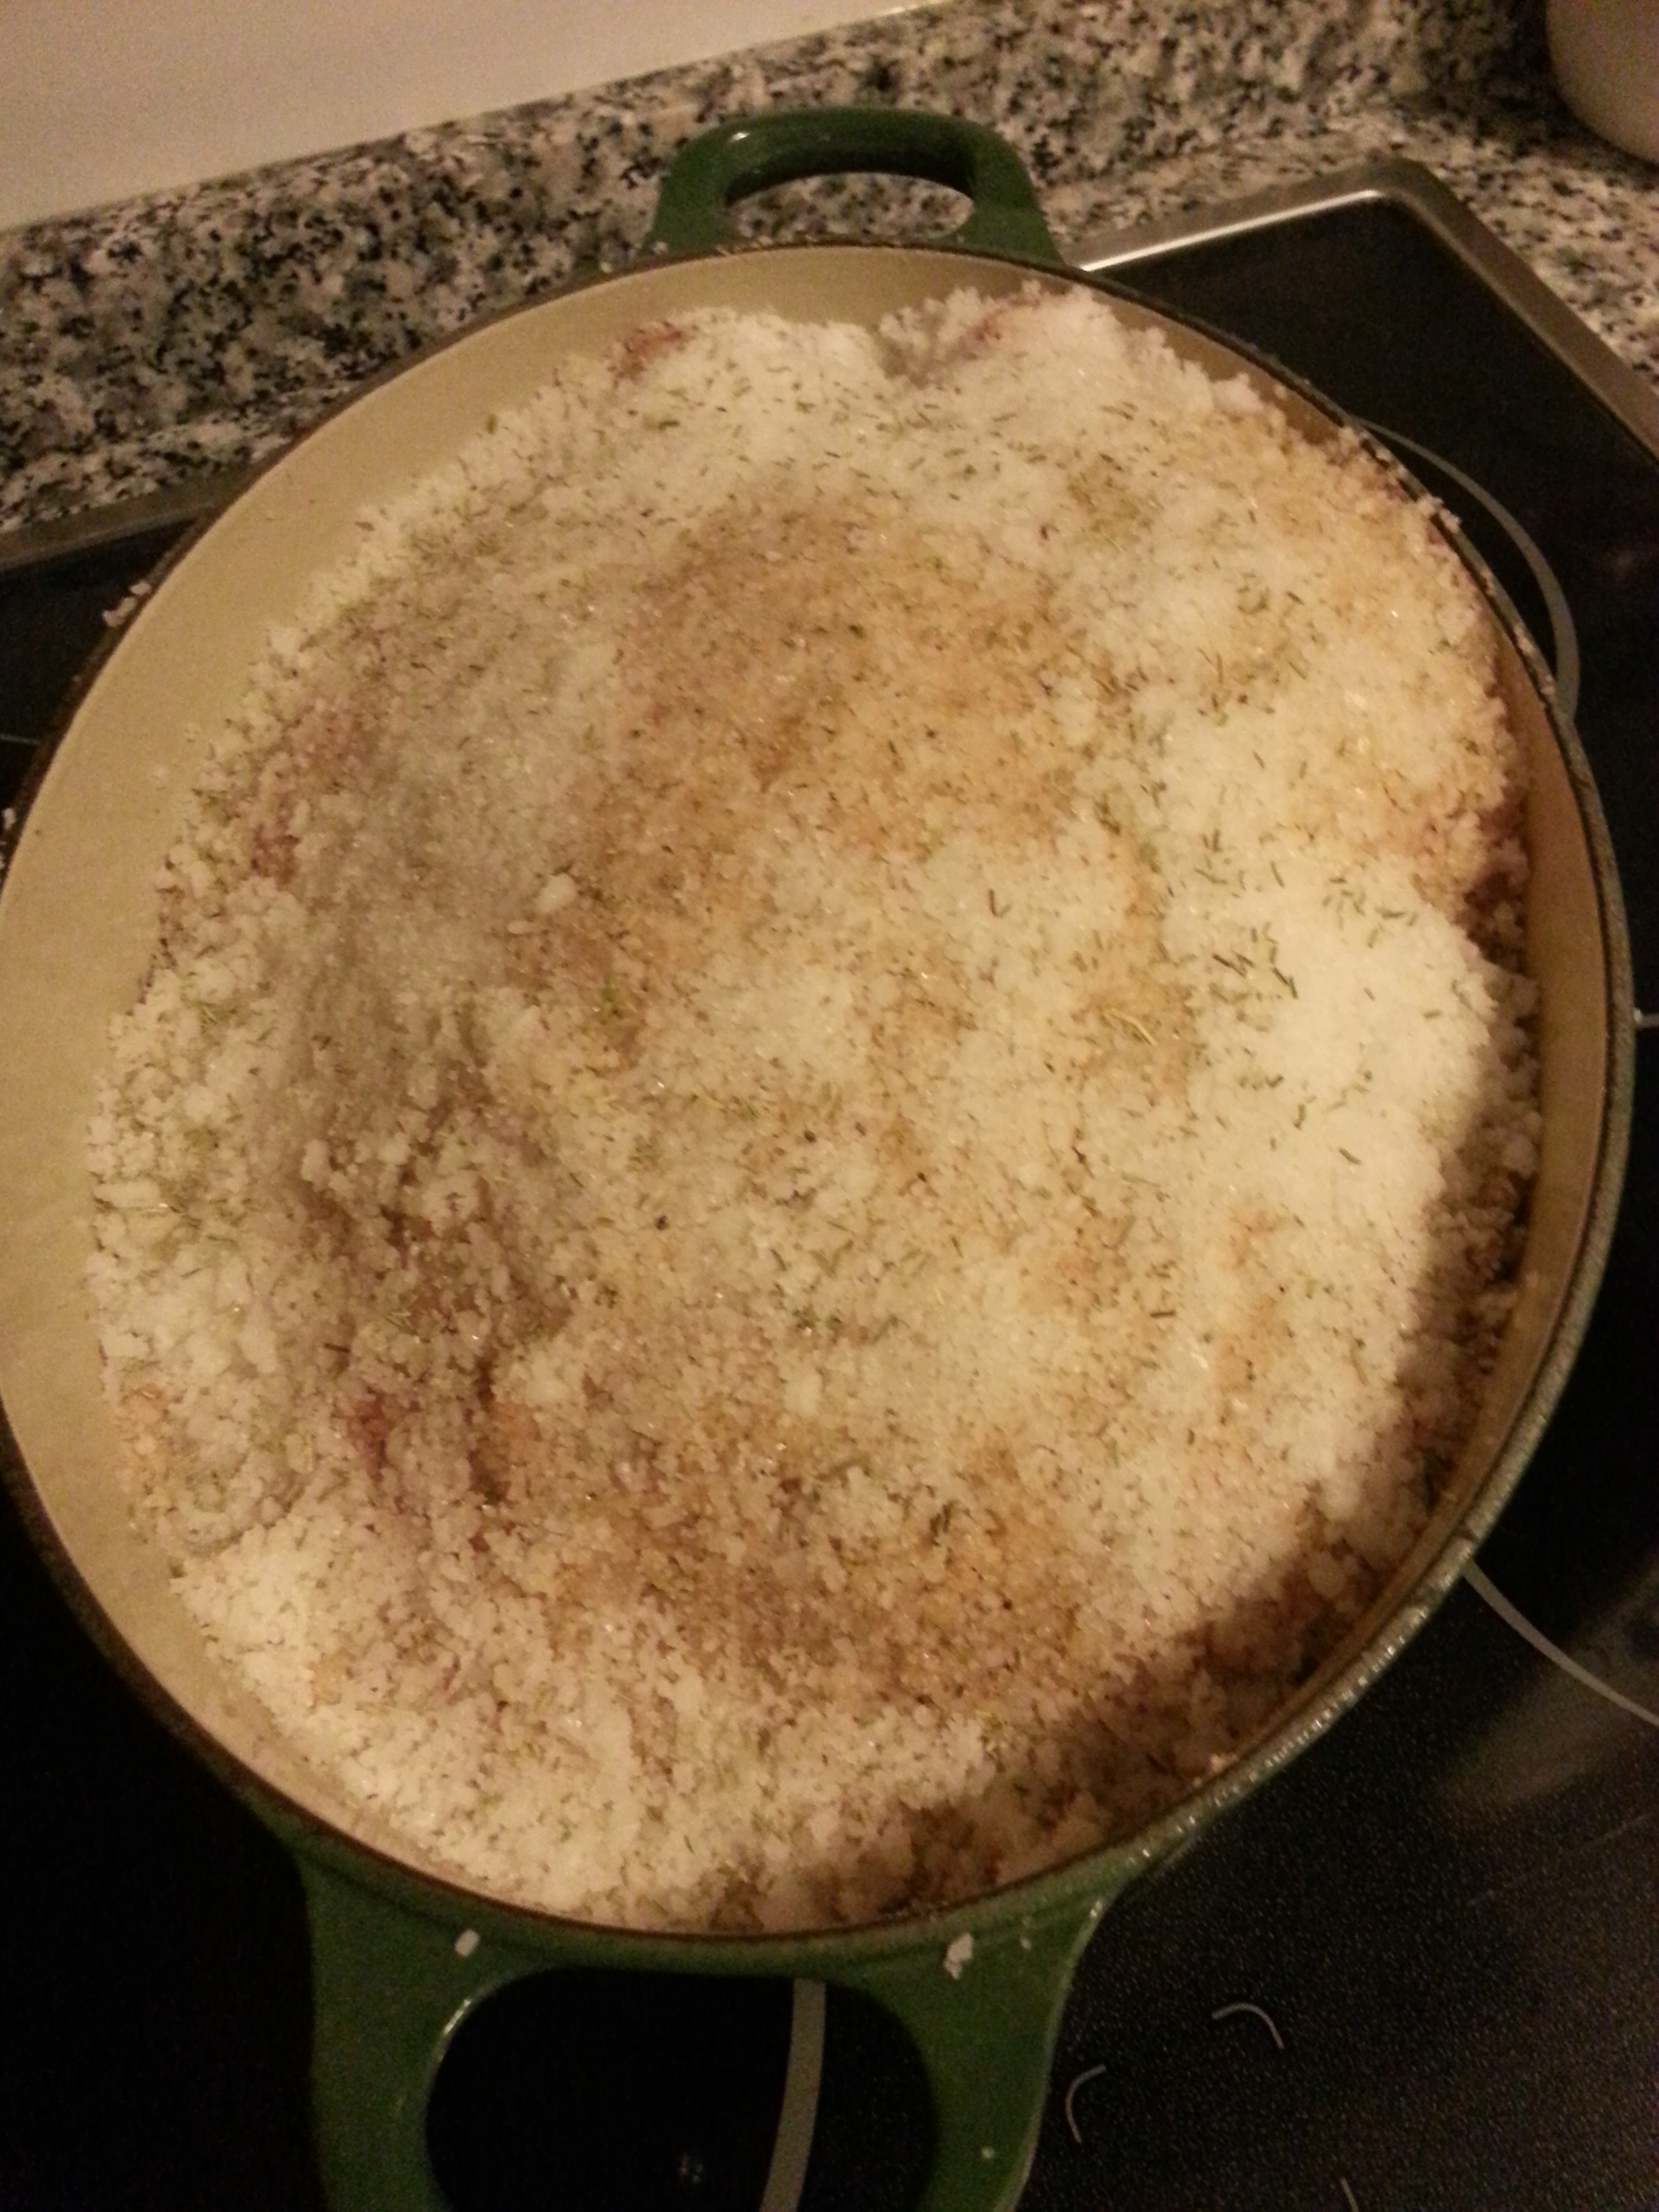
Step 5: Cover the chicken with salt, patting it down so that it is totally encapsulated.
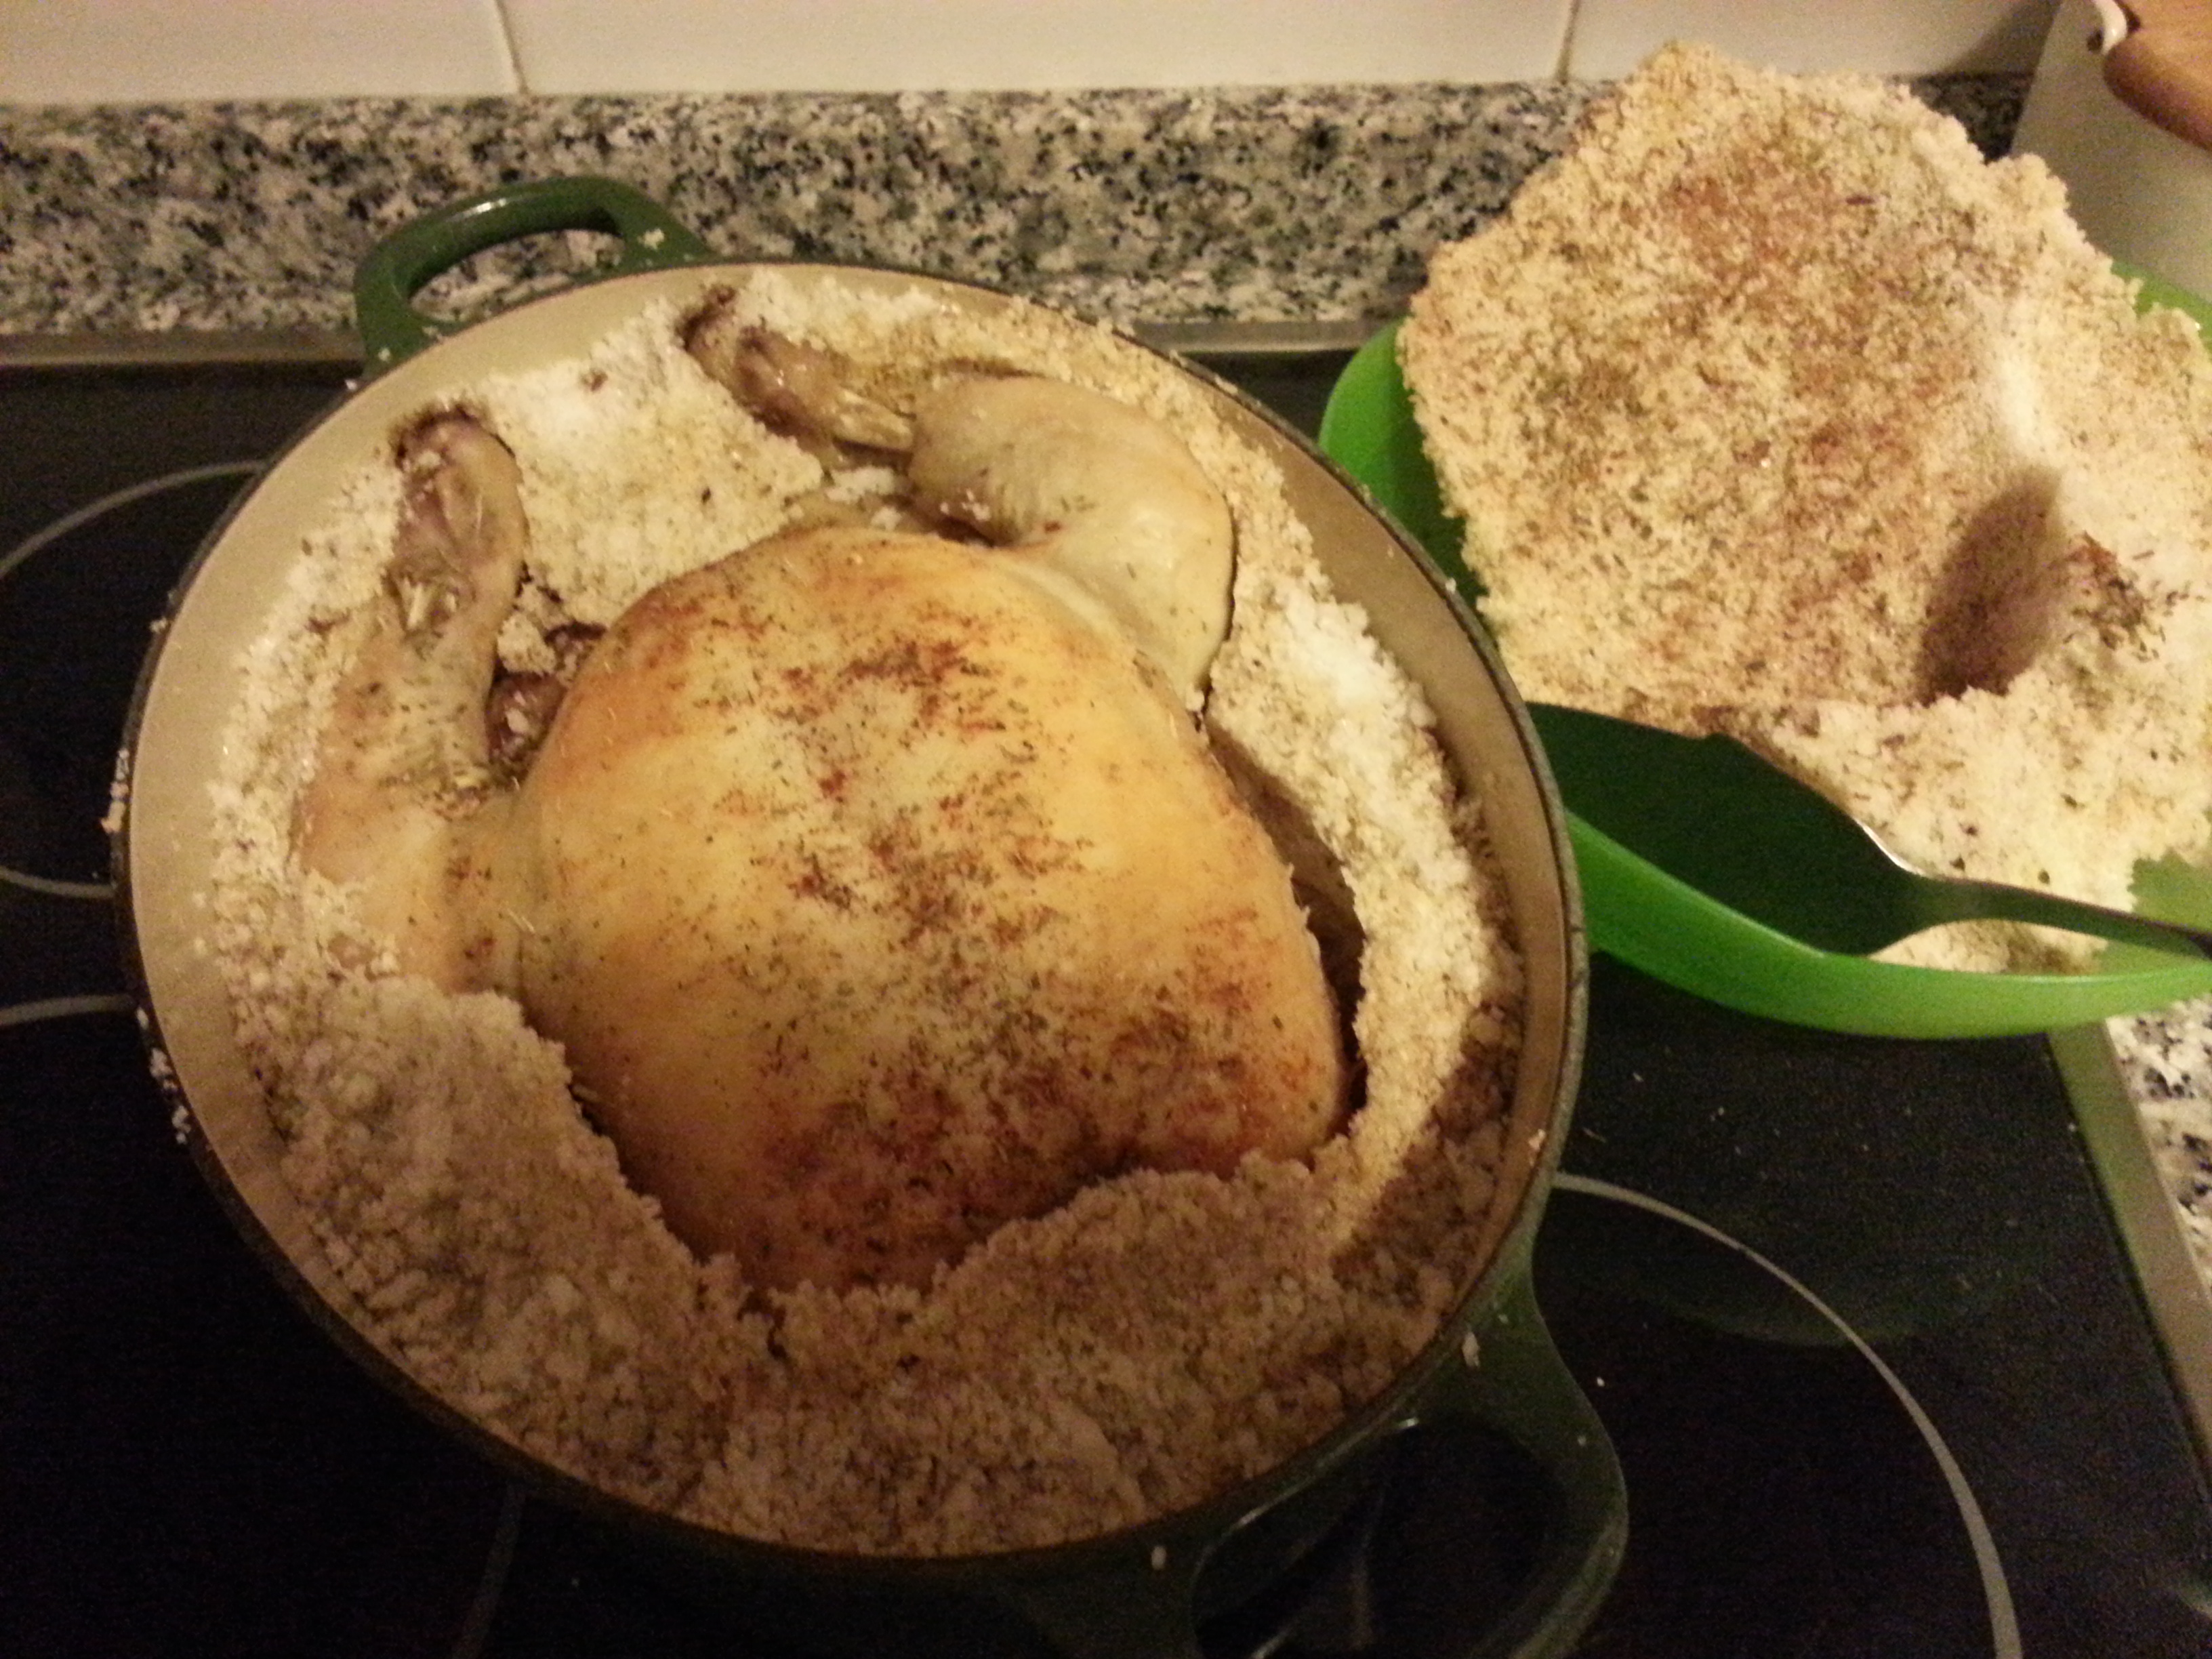
Step 6: Place it in a preheated oven at 140ºC for 2 hours 30 min. Let it stand for 10 minutes before cracking it open. Once you have cracked it open remove the chicken and let it stand for another 45 minutes. If you are doing a turkey I would let it stand for much longer, at least an hour or more (depending on size) so it reabsorbs all its juices. And then serve. (Use a large serving spoon to help you crack open the salt) .
 13.55.23.png)
A juicy bird! Enjoy!
2
Like
Published at 2:07 PM Comments (6)
My Wine Recommendation Nº 13 - Ribera del Duero in Mercadona
Friday, June 12, 2020
A stretch of the Duero river basin about 115 kilometres long and 35 wide located at the confluence of the provinces of Soria, Burgos, Segovia and Valladolid is, according to many experts, one of the best Spanish regions for the production of wines, and up there with the best in the world. It is the Ribera del Duero region, catalogued as Denomination of Origin since 1979 and where just over three hundred wineries make their highly demanded red wines. Of these, only one, Bodegas Ontañón, provides all the Ribera de Duero wines to Mercadona.
This winery, from La Rioja origin, is headquartered in Ribera de Duero in the Burgos town of Fuentecen and supplies the supermarket chain with seven millions of bottles annually. Bodegas Ontañón was just a quarter of a century ago a small family business in La Rioja that made good red wines. Its commercial agreement with Mercadona to sell its wines has made it a giant. If we only take into consideration D.O. Ribera de Duero y Rueda wines, it sells seven million bottles each year through Mercadona.
I have selected three wines from this region that are, for the money, great value:
Abadia Mantrús Roble
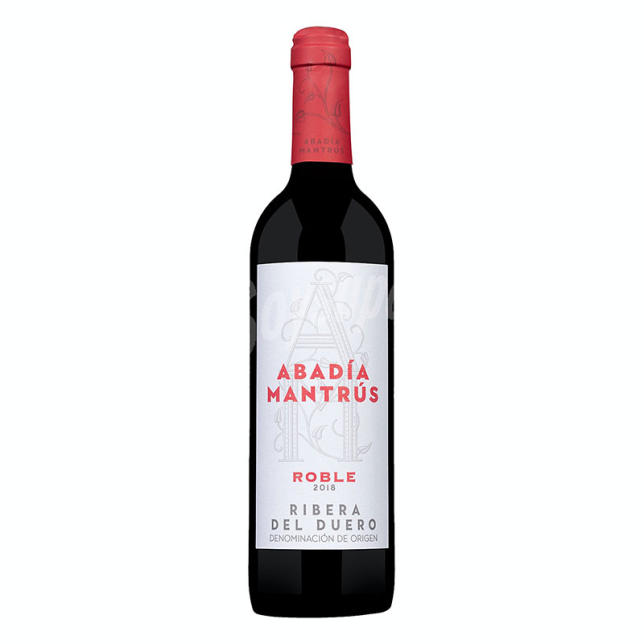
Abadía Mantrús is Mecadona's most economical offering from the region. Abadía Mantrús Roble is a young wine made from grapes of the Tinta Fina variety. Visually you can see the youth though the violet nuances. On the nose, it presents a good aromatic intensity with fresh aromas of wild fruits such as currants and blackberries. On the palate, it is fruity and intense but without losing freshness, and at 16ºC it pairs well with rice and pasta dishes with meat, vegetables, poultry, sausages and cheeses, of course. €3,15
Condado de Teon Roble

Made with Tempranillo grapes from the family vineyards in the Fuentecén area (Burgos), matured with a temperature difference of 20 degrees between day and night, Condado de Teón is the better quality wine that Mercadona offers from this region. Its swift but necessary passage through American oak barrels gives it the elegance and aromatic complexity typical of D.O. Ribera del Duero. It pairs especially well with red meat, pasta, game, stews, cheese and cured ham. €4,95
Condado de Teón Crianza
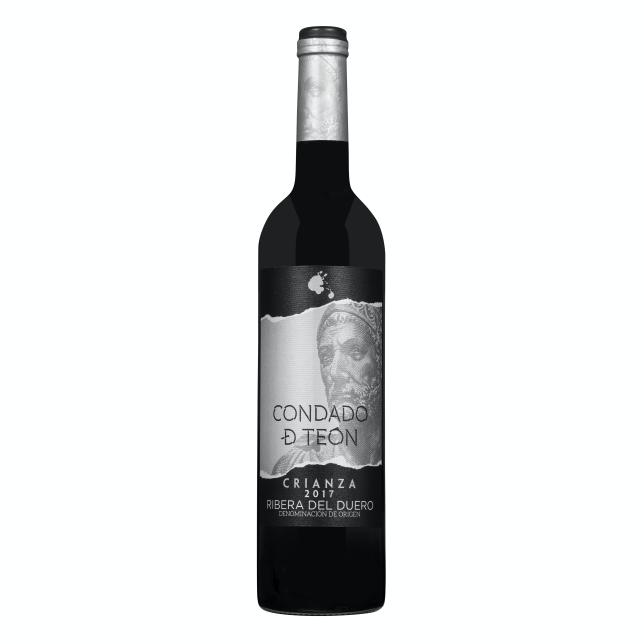
"Honesty" is the term which winemakers use to describe wines that do not deceive, that offer what they promise and that although they may not be classified as excellent, are without doubt good wines. That is how best you could describe Condado de Teón Crianza, which after spending 12 months in oak barrels is pleasant in the mouth and is easily drunk. Visually it has a ruby colour with violet reflections. The nose has a lot of fruit and aromas from the ageing, which is repeated in the mouth. Quite simple an "honest" wine, which, when compared with other similar references from the D.O. Ribera del Duero for value for money, make it a very recommendable choice. €6,50
0
Like
Published at 5:56 PM Comments (3)
How to make Salmorejo from Cordoba
Friday, June 5, 2020
Believe it or not but ‘Salmorjeo from Cordoba has its own culinary guild which works to make this traditional recipe the ambassador of the city, its culture and cuisine, so each year they organise an event to promote this wonderfully versatile dish. For two days, lectures, panel discussions, cooking demonstrations, tastings are conducted in the city in order to help disseminate the authentic Salmorejo recipe to the rest of the world.
The guild conducted an initiative that turned this star dish into a 'Universal Salmorejo' and thus standardised the recipe and ingredients. As you probably know, it has many variations and every household adds its own personal touch. They wanted to establish a traditional protected recipe, which would become an emblem for the region. A panel of expert tasters approved the recipe after researching the most common proportions between ingredients and rounding them off to a standard.
So I thought I would share this recipe with you all and hope you can enjoy yet another refreshing meal during the scorching heat of Spain's imminent summer.
Ingredients:
- 1 kg of ripe plum tomatoes
- 200 gr. Telera Cordobesa Bread (this is a bread with a thick, heavy dough. Better if it is a day old too) 'Pan de Hogaza' in Spanish supermarkets, if you are not in the region!
- 100 gr. de Extra Virgen Olive Oil
- 1 ‘Montalban garlic’ clove from Cordoba - but any garlic clove will do if you can't find the original!
- 10 gr. de Sal
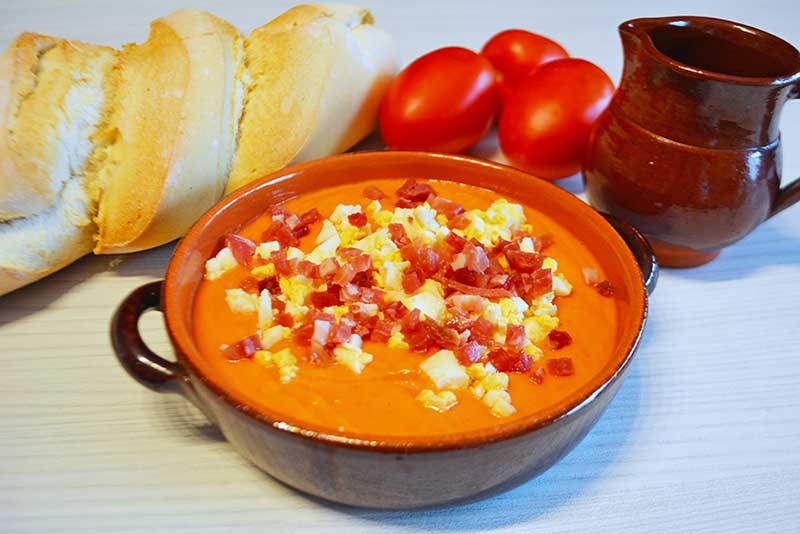
Wash, scald in boiling water and then place in cold water to separate the skin from the flesh of the tomato. Peel the tomatoes and blend them in a food blender, pass the liquidised tomato through a sieve to remove the seeds. Then pour it back into the blender and start blending again, while at the same time adding the garlic, then the bread, olive oil and salt until you have a homogenous mixture which is thicker much thicker than gazpacho, similar to a thick puree. Depending on the density of your bread dough you may need to add more or less, also the water content of your tomatoes will also influence the result so you may need to add more or less bread accordingly for whichever reason. Make sure you don't add all the bread at once, add it bit by bit and test for consistency as you go.
Finally, sprinkle chopped boiled egg and finely diced Serrano ham over the top and serve. Personally, I like to put my serrano ham in the microwave for 1 minute to crisp it up! It gives it that extra dimension and a little salty kick, which I love. It really is a simple, but delicious meal.
Enjoy!
2
Like
Published at 8:57 AM Comments (5)
Spam post or Abuse? Please let us know
|
|